Raised Increases Photo Tutorial
My favourite increase is the least visible and goes by many names.
- Raised Increase
- Lifted Increase
- Invisible Increase
More importantly, I like it best because it doesn’t disrupt the tension of the adjacent stitches like the make one increase does. There are both right and left slanting variations and the mirrored increases look great when stacked to create a taper, like in a sleeve.

There are many abbreviations for this increase, none of which are standard and they all mean the same thing:
- RRI and LRI (right-slanting raised increase and left-slanting raised increase)
- RSI and LSI (right-slanting increase and left-slanting increase)
- RLI and LLI (right lifted increase and left lifted increase)
- LRinc and LLinc (leaning-right increase and leaning-left increase)
- KRL and KLL (knit right loop and knit left loop)
If you prefer to learn from a video tutorial, click here.
Right-Slanting Raised Increase (RRI)
RRI Step 1:

Work to location for increase (in this case, it’s two sts from the edge).
RRI Step 2:
The RRI is worked into the right side of the stitch, one row below the next stitch on the left needle.

An easy way to find that stitch is to tilt the left needle towards you so you can see the back and locate the purl bump directly below the next st on the needle.
RRI Step 3:

Insert right needle downwards into that purl bump from the top of the stitch.
RRI Step 4:
Wrap your working yarn around the needle and knit the stitch.

Don’t let the next stitch slip off the left needle. Right-slanting raised increase completed.
Work next stitch on needle in the normal fashion.
Left-Slanting Raised Increase (LRI)
LRI Step 1:

Work to location for increase.
LRI Step 2:
The LRI is worked into the left side of the stitch, two rows below the last stitch on the right needle.

Locate the bar between the stitches on each needle. Line up the left needle with the bar, so it’s parallel to and just underneath that bar.
LRI Step 3:

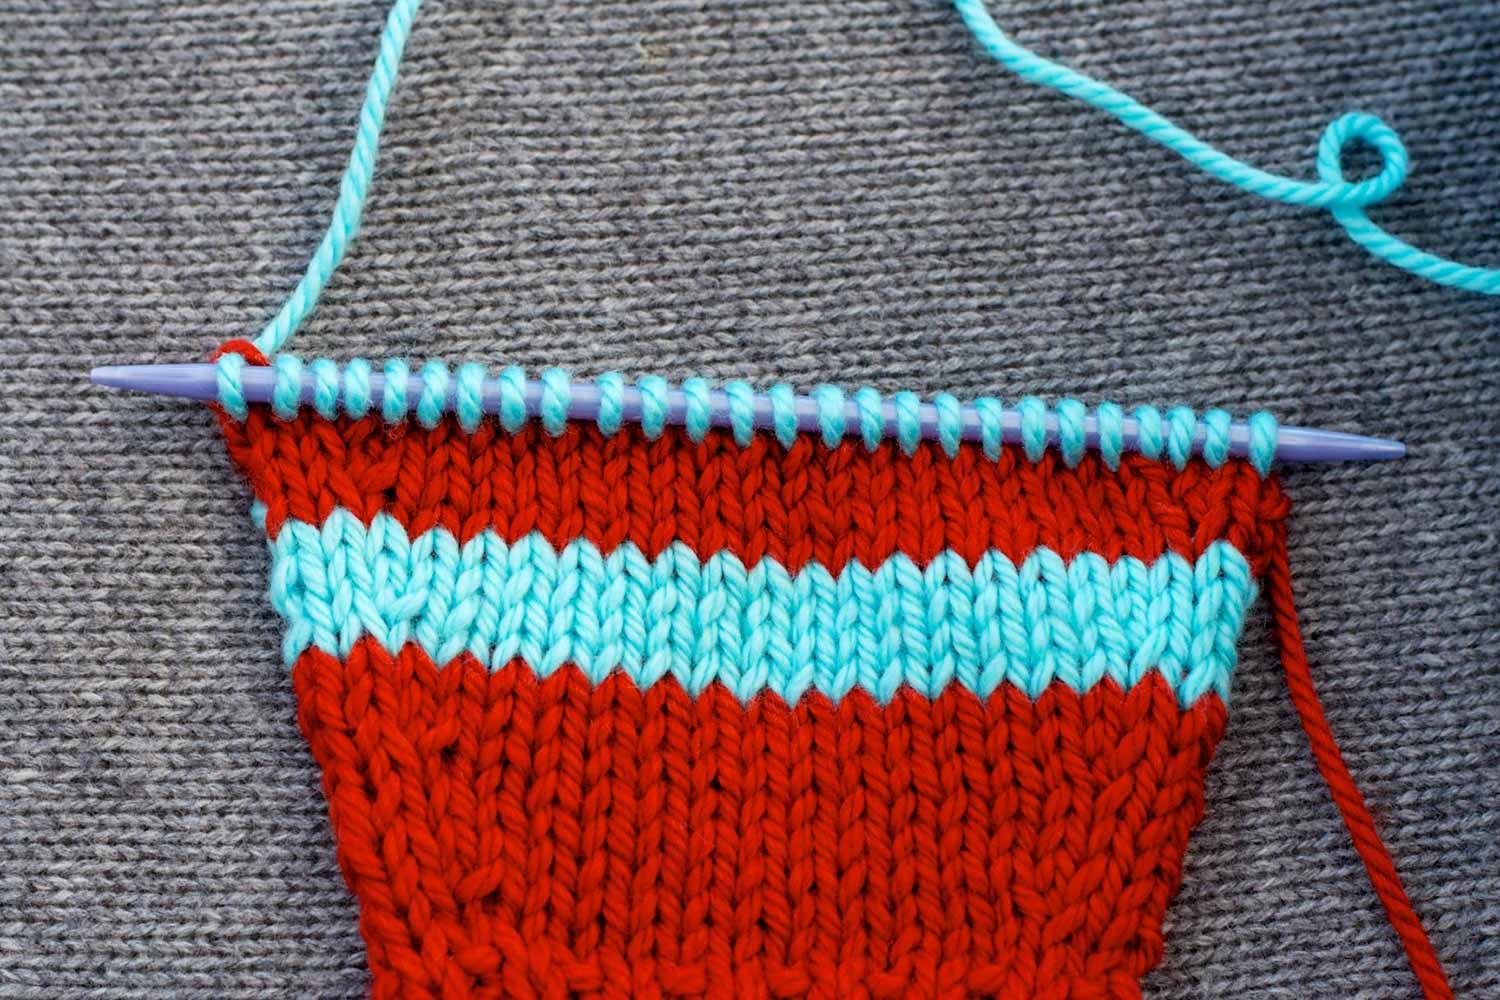
Follow that bar, moving towards the right needle and you’ll find your left needle slipping into the stitch, two rows below the stitch just worked on the needle. (Note: this is the same row as the RRI was worked but it might feel like there’s an extra row. Compare the photos and notice that it’s the same row in the striping pattern.)
LRI Step 4:

Now that the raised stitch is on the left needle …

Knit into the back of the stitch.

Left-slanting raised increase completed.
Tips
- When working paired increases at each end of the row (say, for a sleeve), generally they are worked at least one stitch in from the edge. I prefer having two stitches between my edge and the increase, remembering that one stitch at each end is used in the seam.
- You need at least one plain row/round between increases.
- Raised increases may be substituted for make one increases in almost all situations.
I told you this is my favourite increase. Check out all the patterns below where I’ve specified this increase!