Ruby Pocket Part II
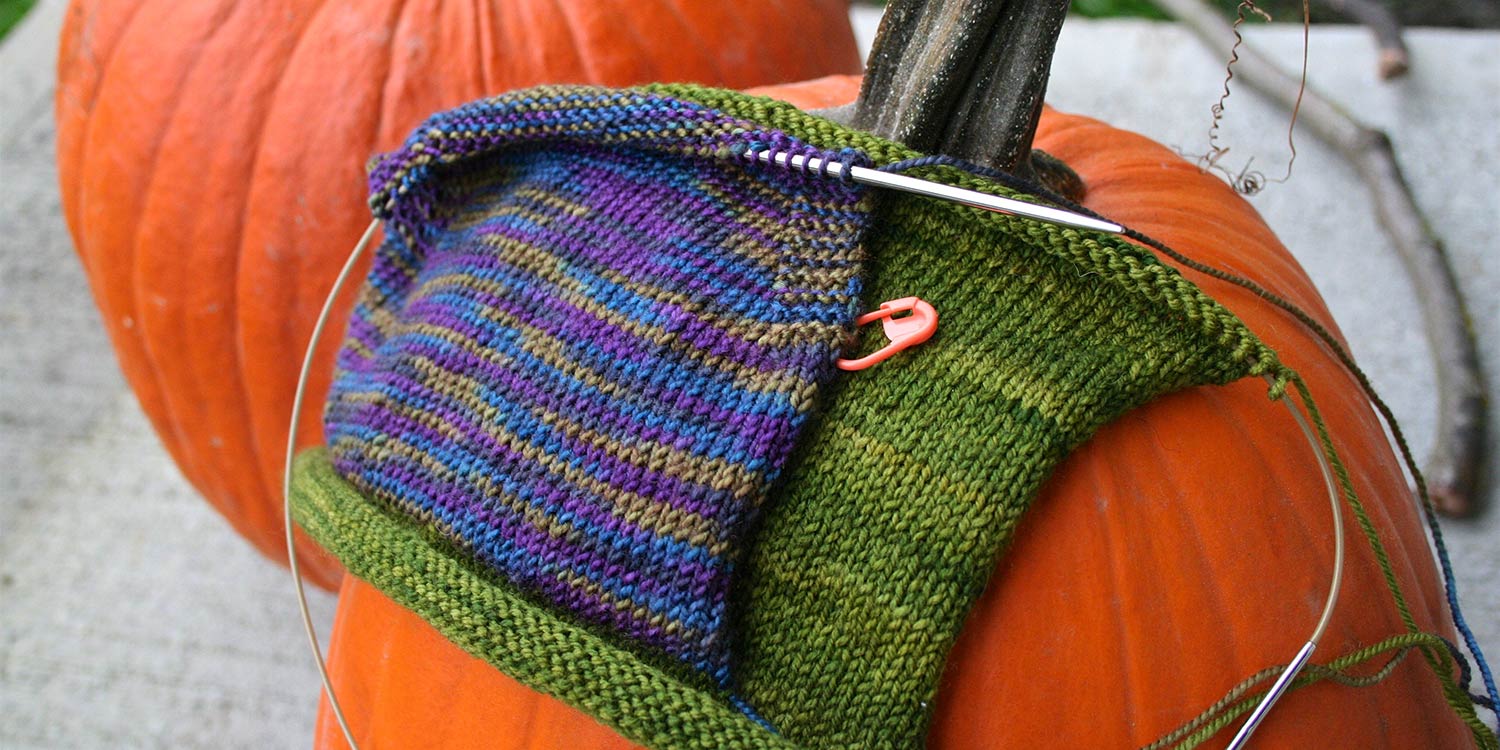
Time for another installment of the kangaroo pocket on the Ruby hoodie design. After the front of the sweater is knit up to about the armhole (refer to instructions for the exact location), it’s time to pause and knit the front of the pocket.

Transfer reserved stitches onto a knitting needle

All the stitches are nicely being held on waste yarn as per the instructions. It’s time to slip them onto your knitting needle. It’s easier to slip them onto a smaller-sized needle, but remember to change to your gauge needle when you begin working the stitches.
Create a seam allowance
Increase one stitch on each end of the first row of the pocket as follows. This creates a seam allowance for the sides of the pocket. The extra stitches will disappear when the sides are sewn up. See this post for more information on seaming.
Step 1
Change to your larger knitting needle. Work a right-slanting raised increase (RRI) at the beginning of the row as follows.


Insert the right needle into the right side of the stitch in the row directly below the first stitch on your left needle.

Wrap the contrasting colour (pocket colour) yarn around the needle and knit the stitch—one stitch increased.
Step 2

Knit the first stitch on the left needle and continue to knit to the end of the row.

Step 3
At the end of the first pocket row, increase one more stitch by working a left-slanting raised increase as follows.


Insert the left needle into the left side of the stitch, two rows directly below the last stitch on your right needle.
Knit into this stitch through the back loop—one stitch increased.
Step 4

Continue working the pocket front following the directions until it’s time to join the top of the pocket to the sweater front … detailed instructions in the next post!


