Sewn Bind Off Tutorial with No Sewing
Hana loves yellow. She’s been asking me for handknit yellow socks. I was worried that by the time I had time to knit them she might have a new favourite colour—she does that sometimes.
Since I needed a new sample for my Tip-Toe-Up Socks class, the decision was easy—yellow socks! Hana loves them and she still loves yellow.
In the class I show how to knit a replaceable heel for these socks and it requires some grafting. I demonstrate grafting on the needles which feels much more like a knitterly endeavour than Kitchener stitch does.
When I finished off the socks the other day I wanted to try a new (to me) stretchy bind off. I had heard that Elizabeth Zimmerman’s sewn bind off is among the best. Hmm, but I don’t like sewing. So I applied the same logic as grafting on the needles and it works wonderfully. Let me show you.

Tutorial
Start with a tail about four times the length of your bind off edge.
Step 1:

K2tog leaving the two stitches on the left needle …
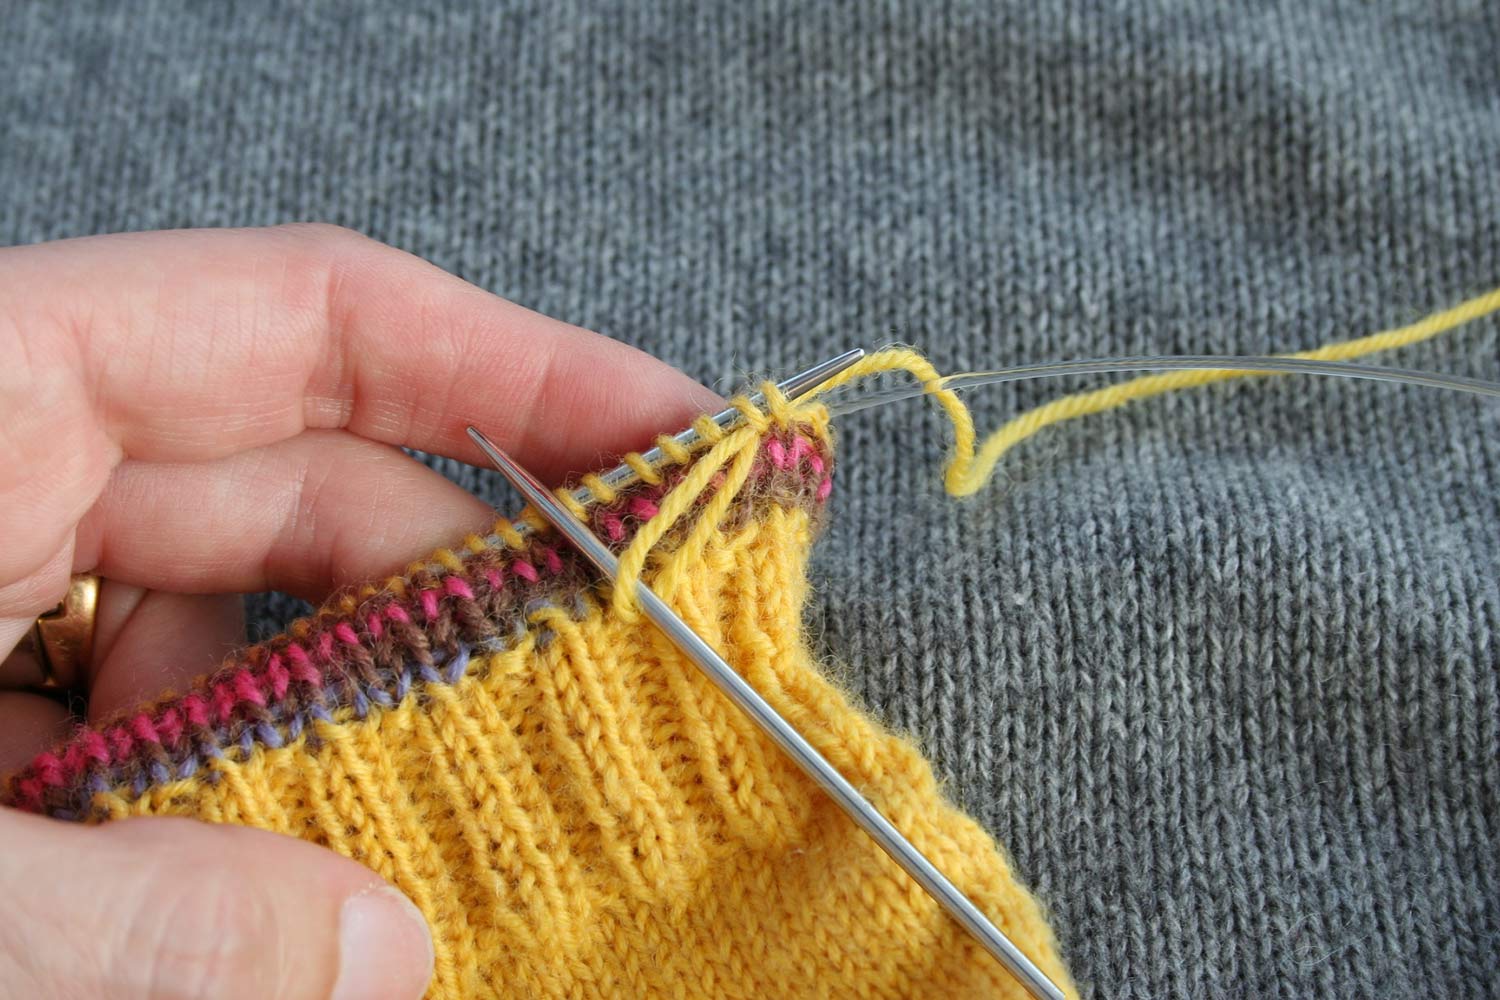
and then enlarge the new stitch pulling the tail all the way through until there is no longer a stitch on the right needle.
Step 2:

P1, leaving the stitch on the left needle and pull the yarn all the way through.
Step 3:

Slip the last worked stitch to the end of the round to become the final bind off stitch.
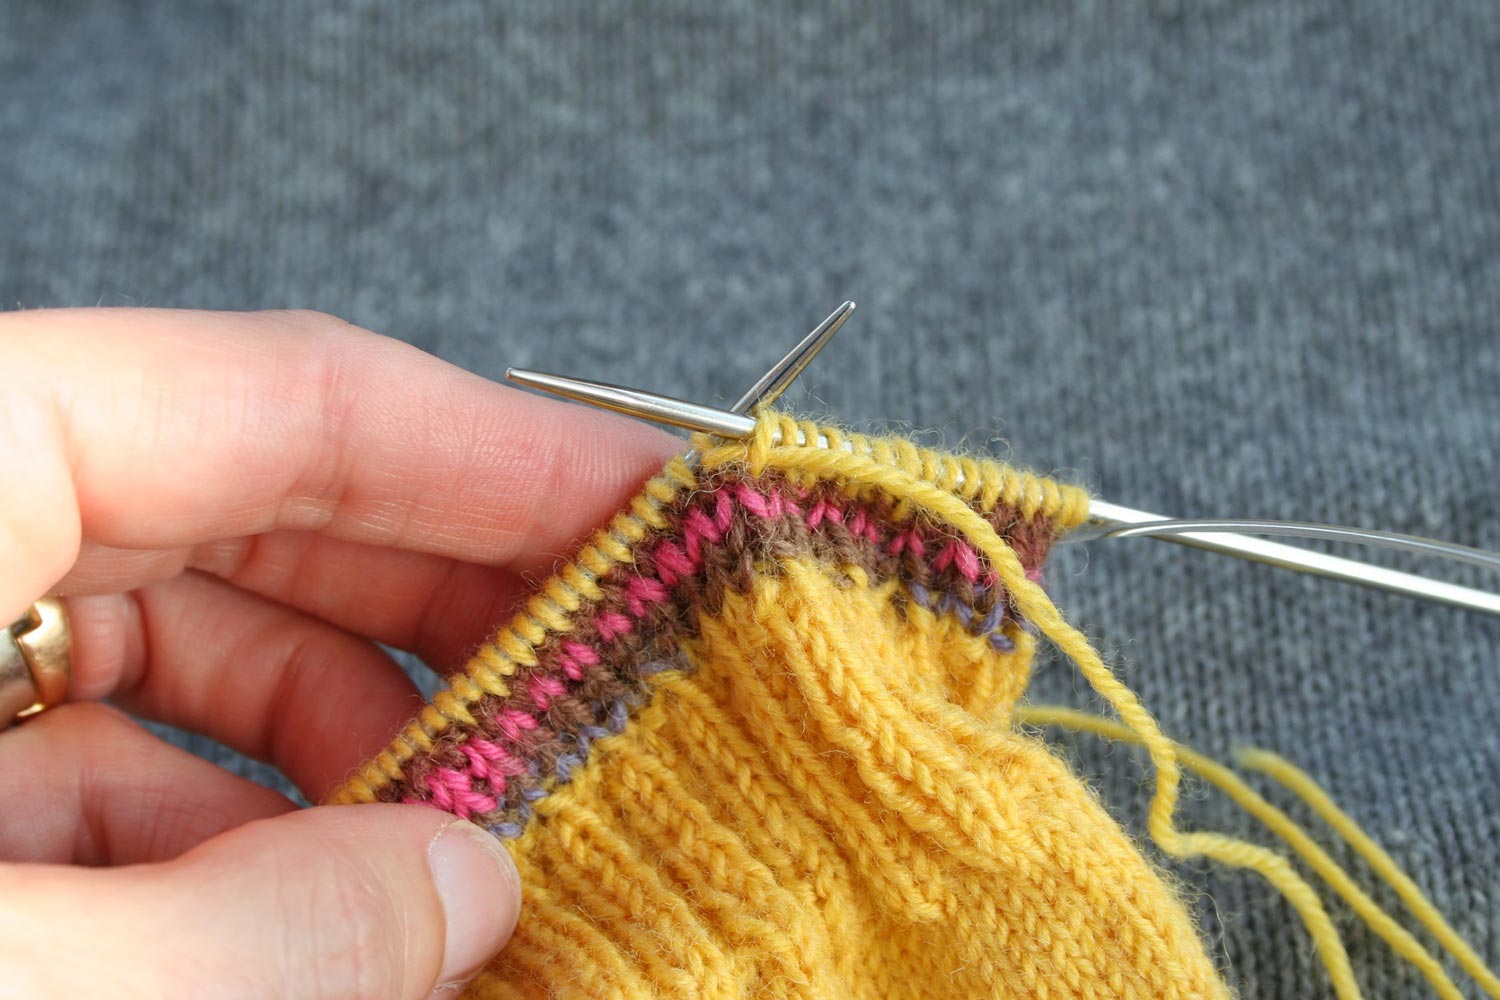
This step creates a neater finish when working in the round.
Step 4:
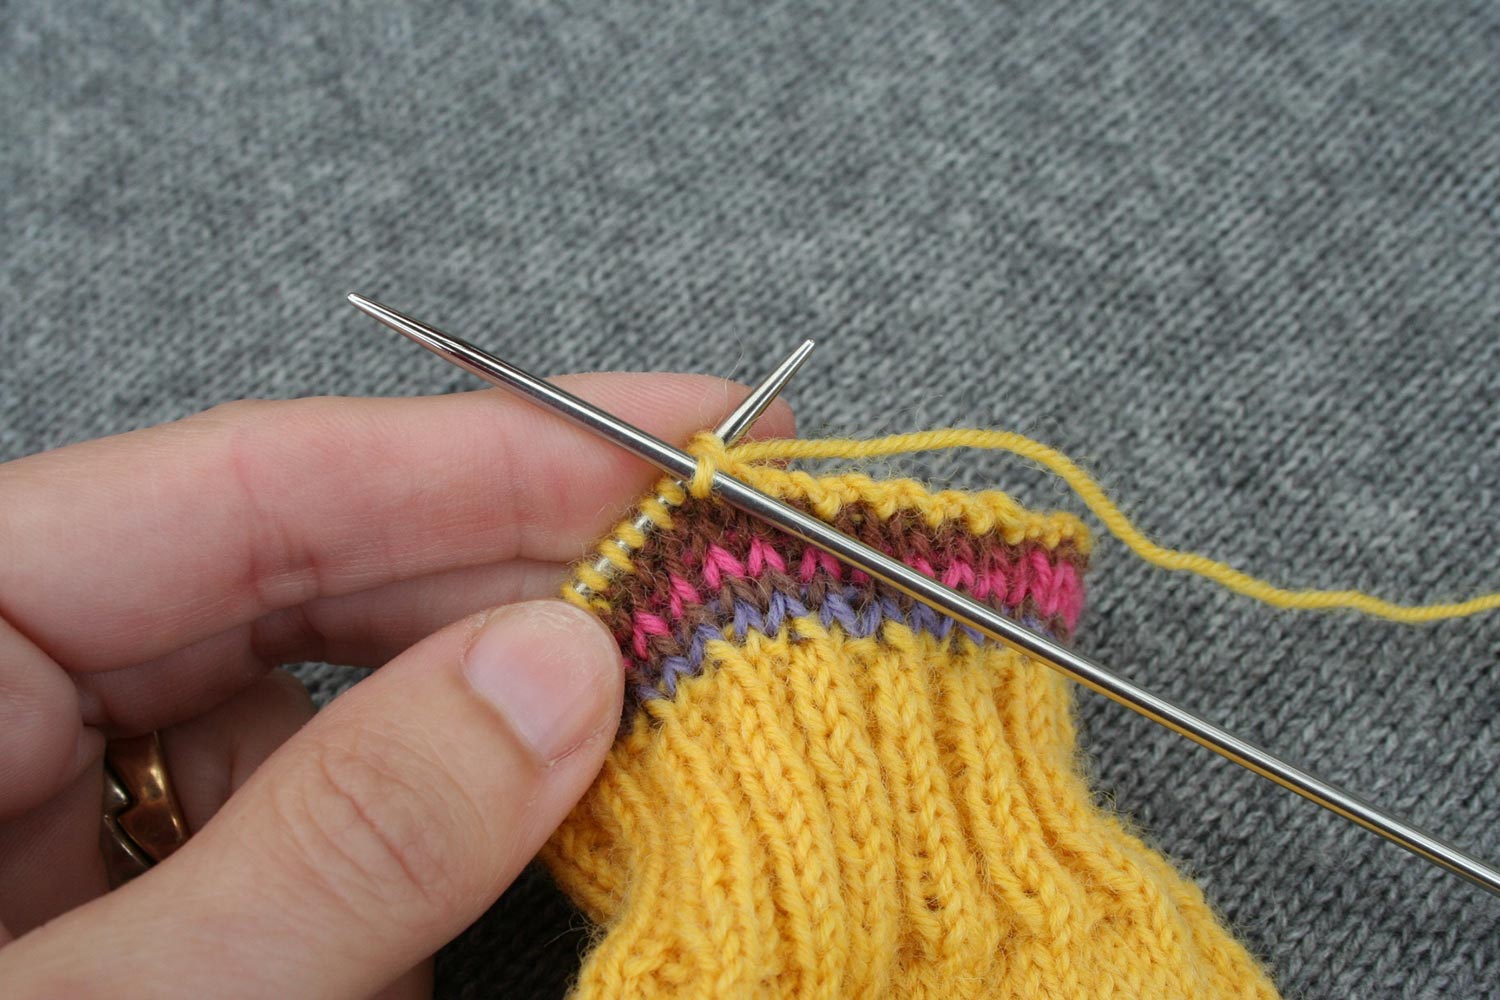
K2tog leaving the two stitches on the left needle …
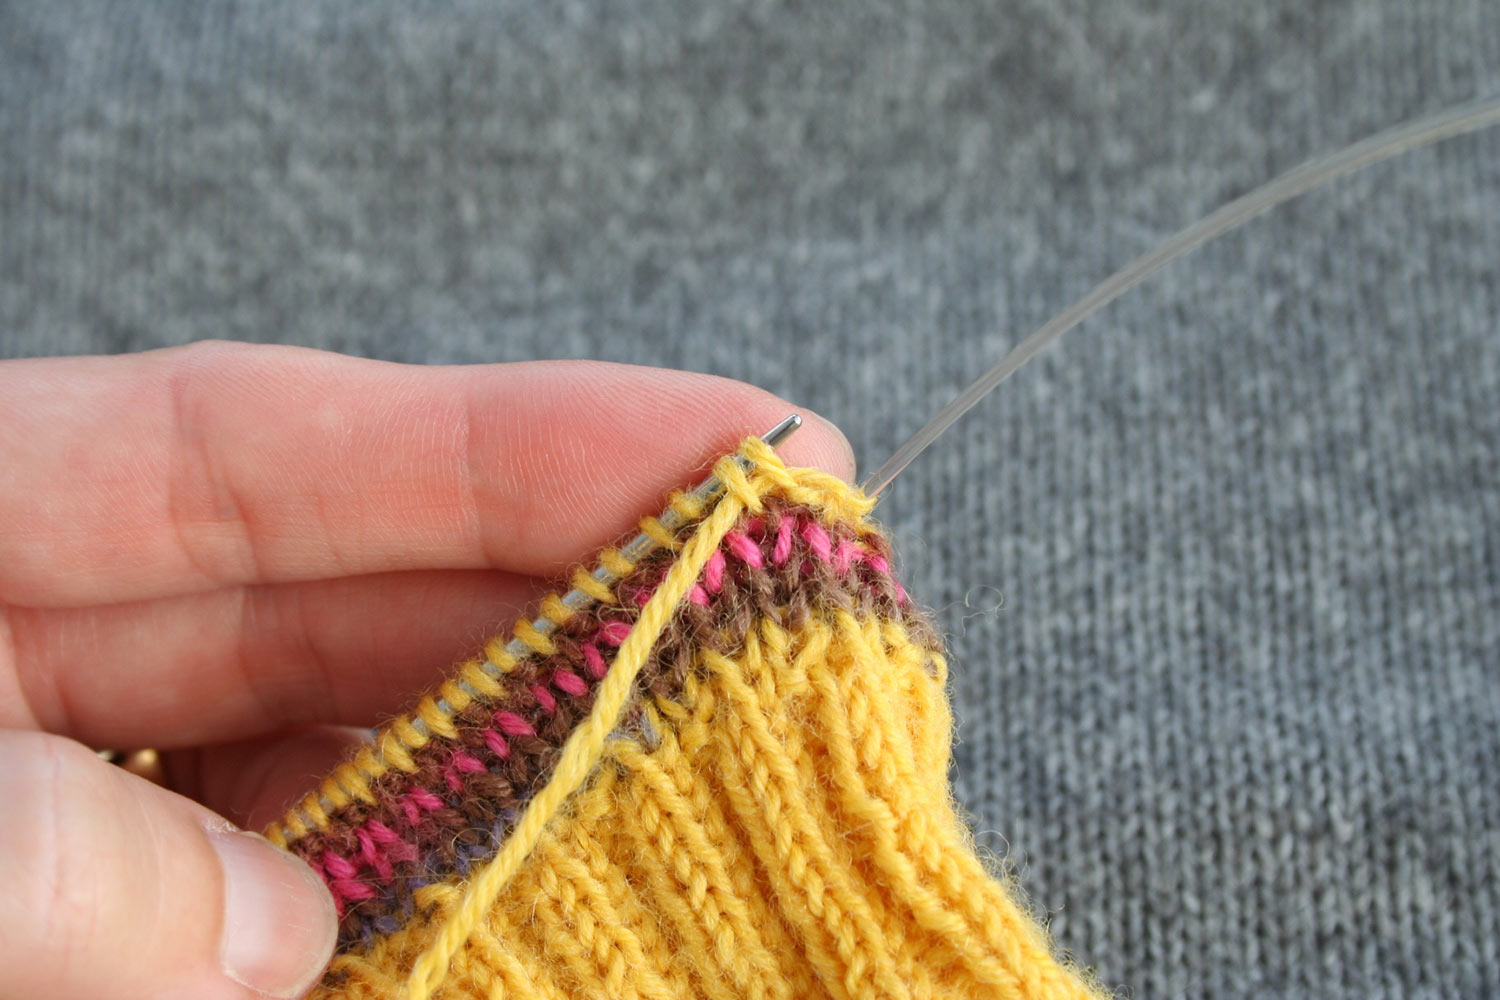
and then enlarge the new stitch pulling the tail all the way through until there is no longer a stitch on the right needle.
Step 5:
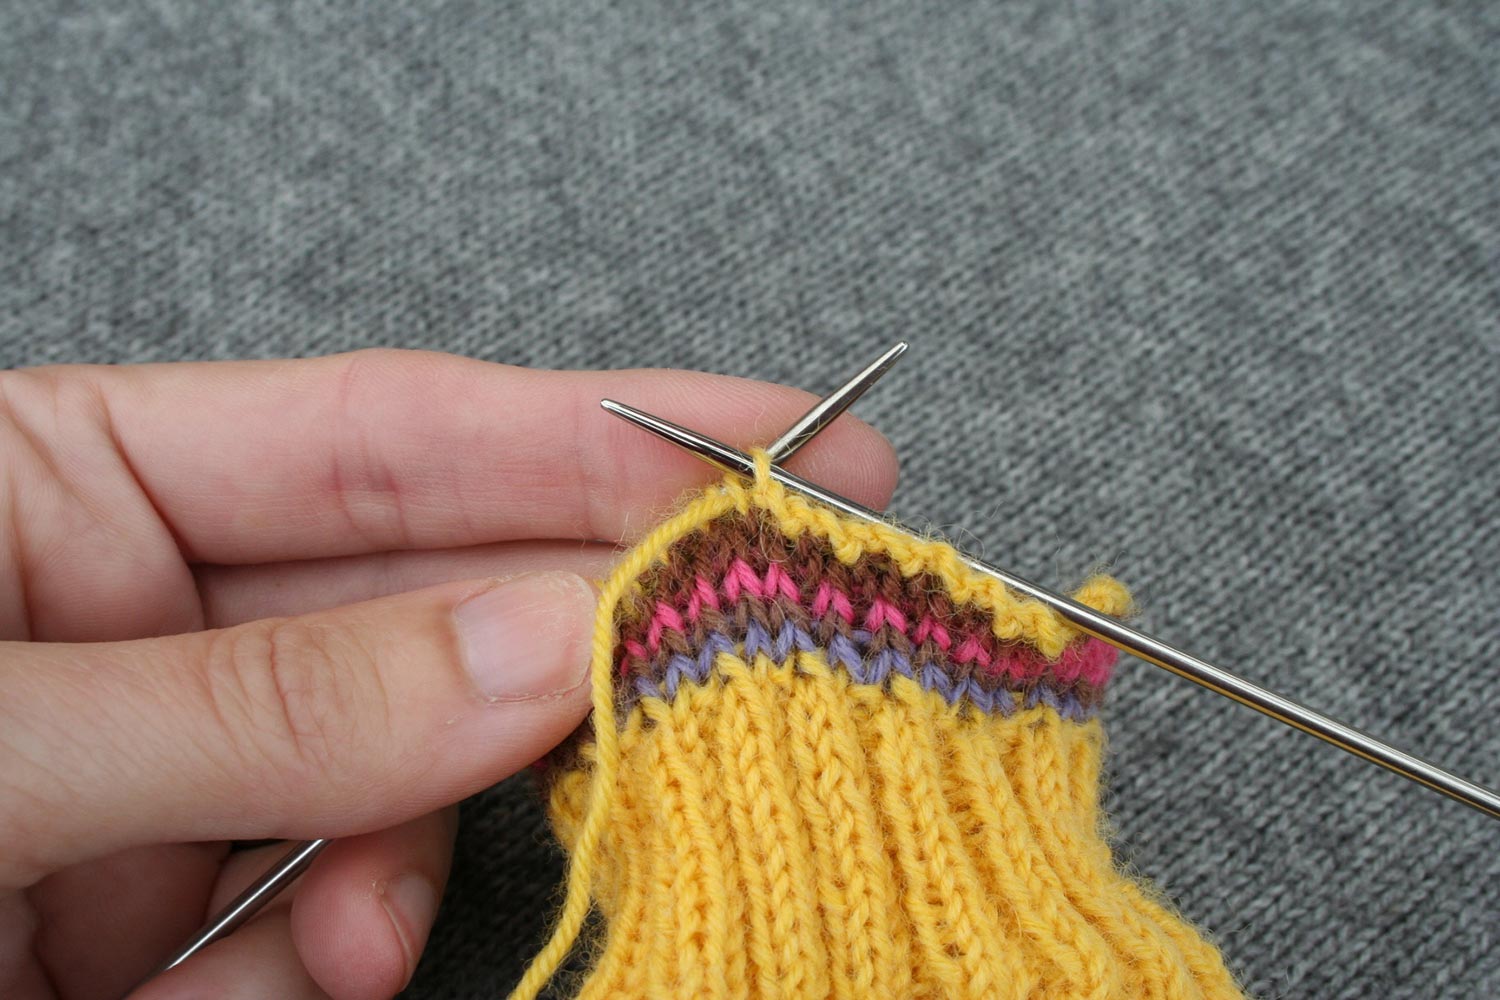
P1 …
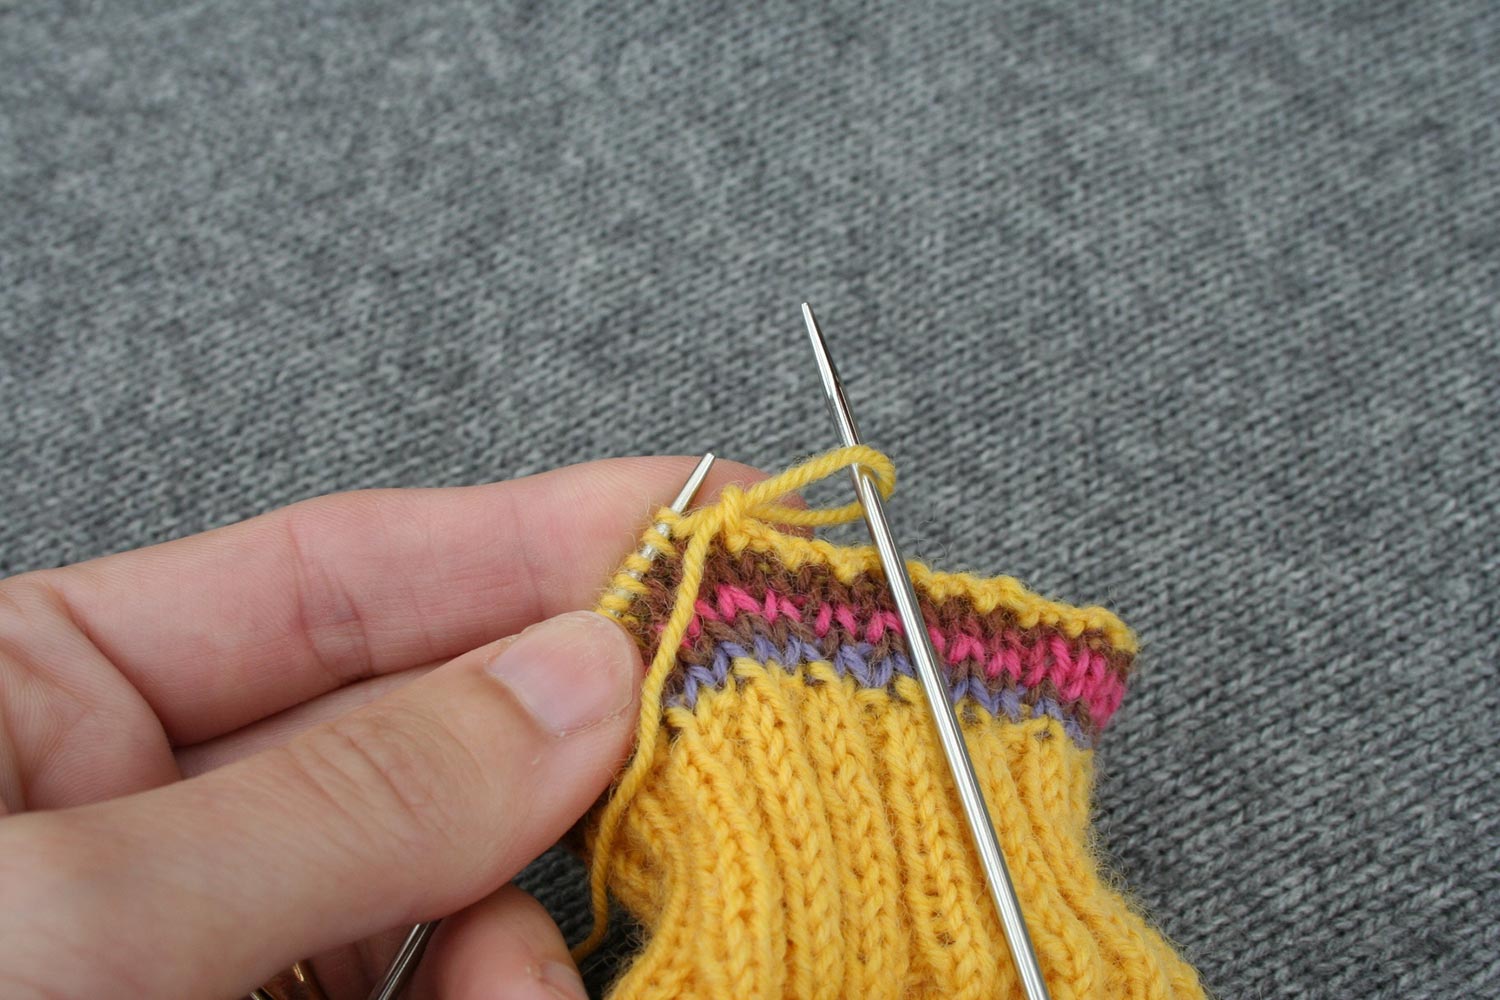
dropping the st off the left needle and pull the yarn all the way through the dropped stitch.
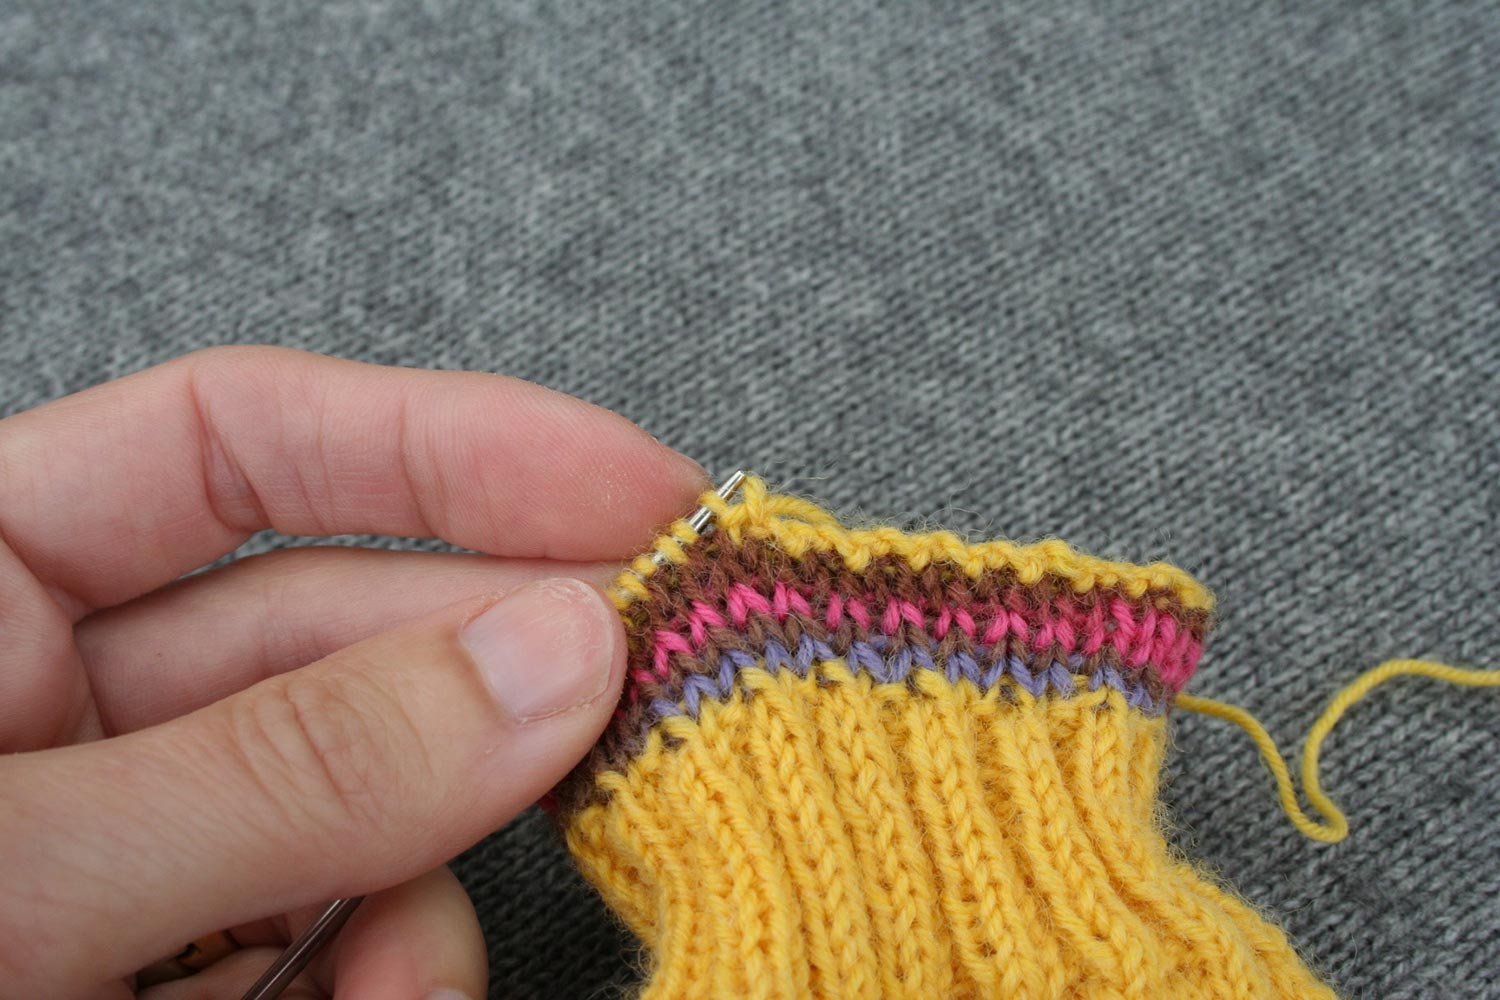
Repeat Steps 4 and 5 until all the stitches are bound off.
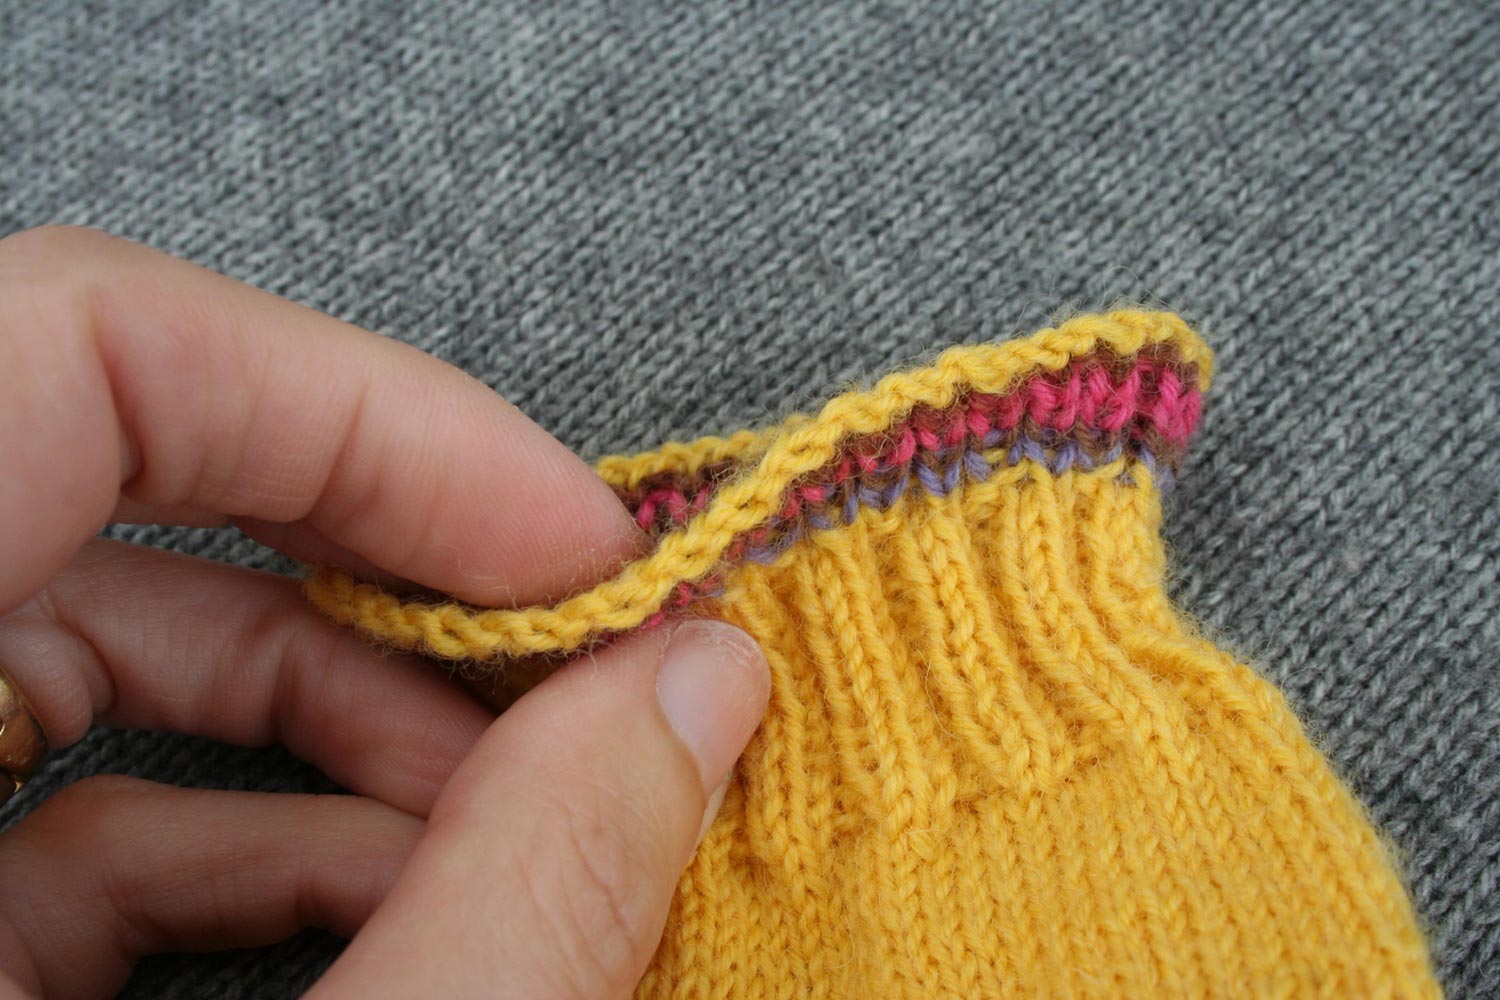
When working flat (not in the round), skip Steps 1 to 3 and just work Steps 4 and 5.
Try this bind off on your next pair of socks or neck edging and let me know if you like it.


