“Long Tail” Bind Off
There are times when we want a bind-off edge to look exactly the same as the cast-on edge. A while back, I needed to cut the cuff off of one sleeve and rework it from the top down. The other sleeve had been worked bottom up with a long tail cast on. I wanted both edges to look the same so I reverse engineered a bind off that mirrored the cast on.
To achieve this, I examined the cast-on edge carefully and picked it apart. This is what I came up with. At the time I hadn’t come across this bind off in some of the current basic reference books. I suppose you could say that I “unvented” it because since then, I’ve found it in June Hemmons Hiatt’s The Principles of Knitting: Methods and Techniques of Hand Knitting and Montse Stanley’s Knitter’s Handbook : A Comprehensive Guide to the Principles and Techniques of Handknitting, which are both excellent resources to have in your library.
Setup
I’m using contrasting coloured yarns for the purpose of illustration.

Start by cutting your working yarn and leaving a long tail—about 4 times longer than the width of the knitting. Thread it onto a blunt-tipped tapestry needle.
Step 1

Insert the tapestry needle into the second stitch on your left knitting needle as if to knit and pull the yarn through, leaving stitches on left needle.
Step 2

Insert the tapestry needle into the first stitch as if to purl and pull the yarn through. Drop the first stitch off the knitting needle. Take care not to pull too tightly—this is how you control the tension of your bound-off edge.


Repeat the Steps 1 and 2 until you’ve bound off all your stitches.


These two photos compare both the cast-on and bound-off edges on both sides of the work. They look the same.
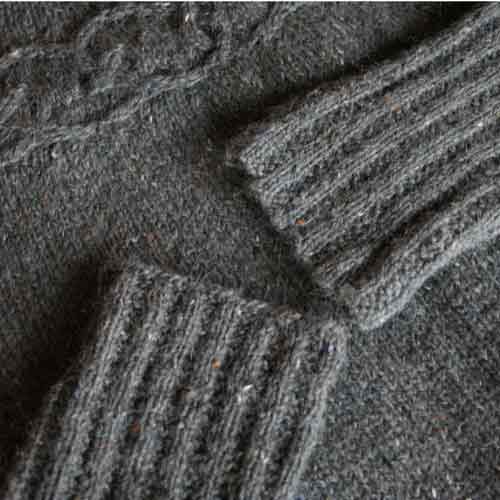
The sleeve for my cardigan is now finished, using this bind off method. Can you tell which sleeve has the cast-on edge and which has the bind-off edge? I would consider the surgery and unqualified success! Check out my post on how I approached the surgery.
Read through the full series of Tangled Yoke Cardigan blog posts:


