Applied I-Cord
I did a lot of experimenting with applied i-cord when I was designing the Ruby hoodie. Because the i-cord is a contrasting colour to the hood, I wanted to make sure the other colour wasn’t poking through the i-cord when it was complete. Most of the ones I tried were messy. I finally found the one I was happy with; it neatly encases the selvedge edge inside the i-cord tube.
Step 1:

Start the same way you would for a regular i-cord. Using a double-pointed needle, cast on 4 stitches.
Step 2:
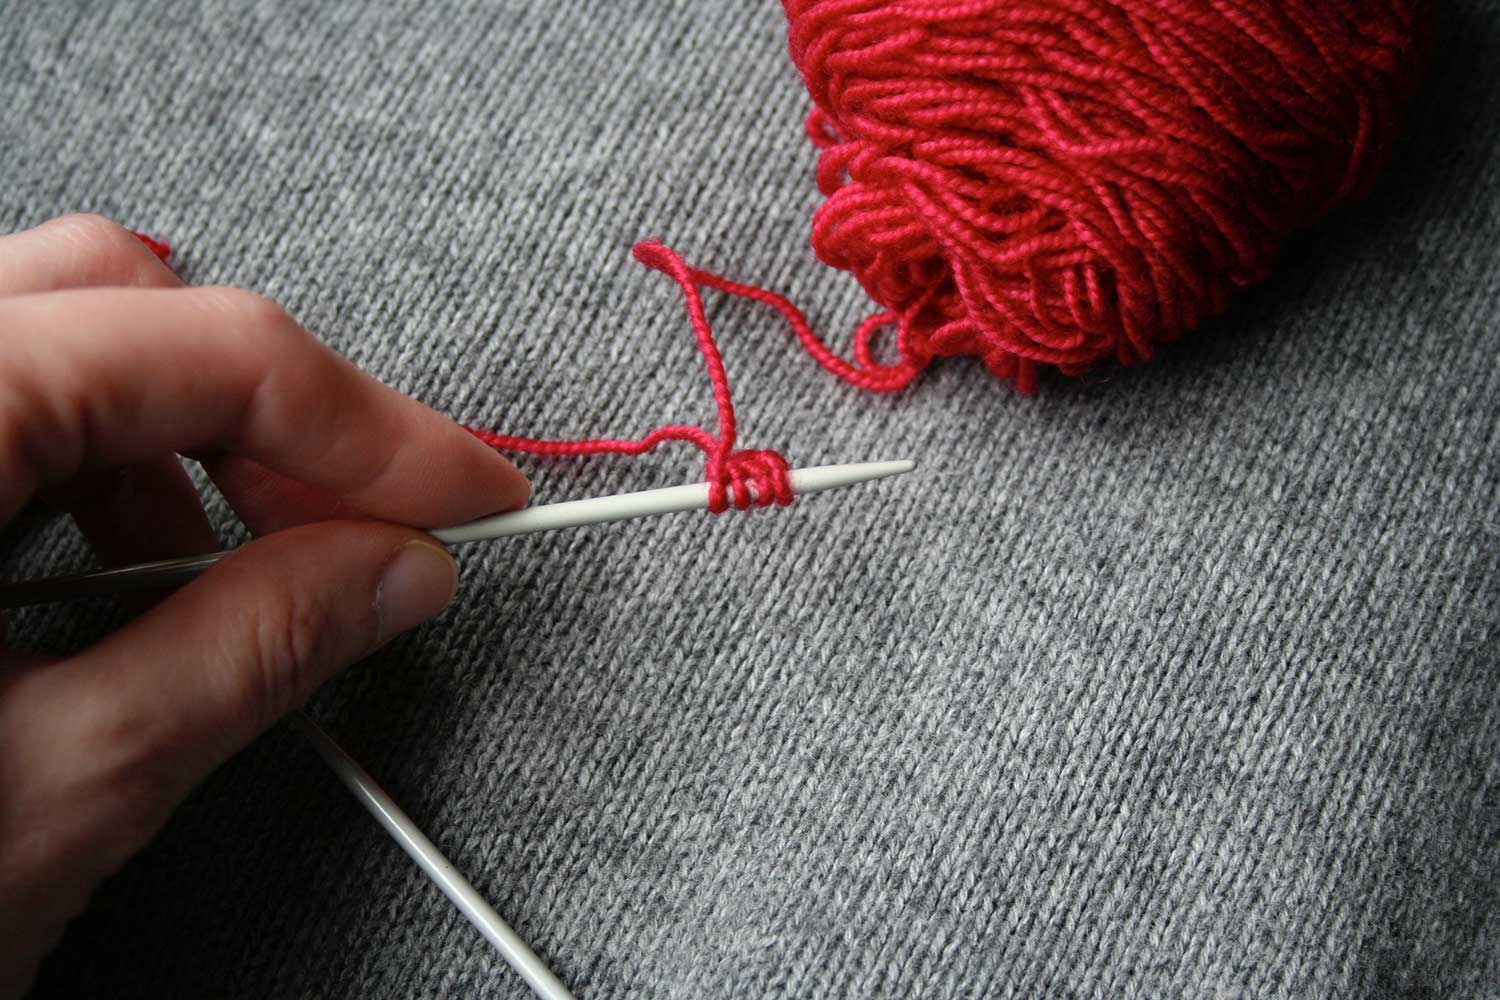
Slide the stitches to the end of the needle so that the first cast-on stitch is ready to be knit.
Step 3:
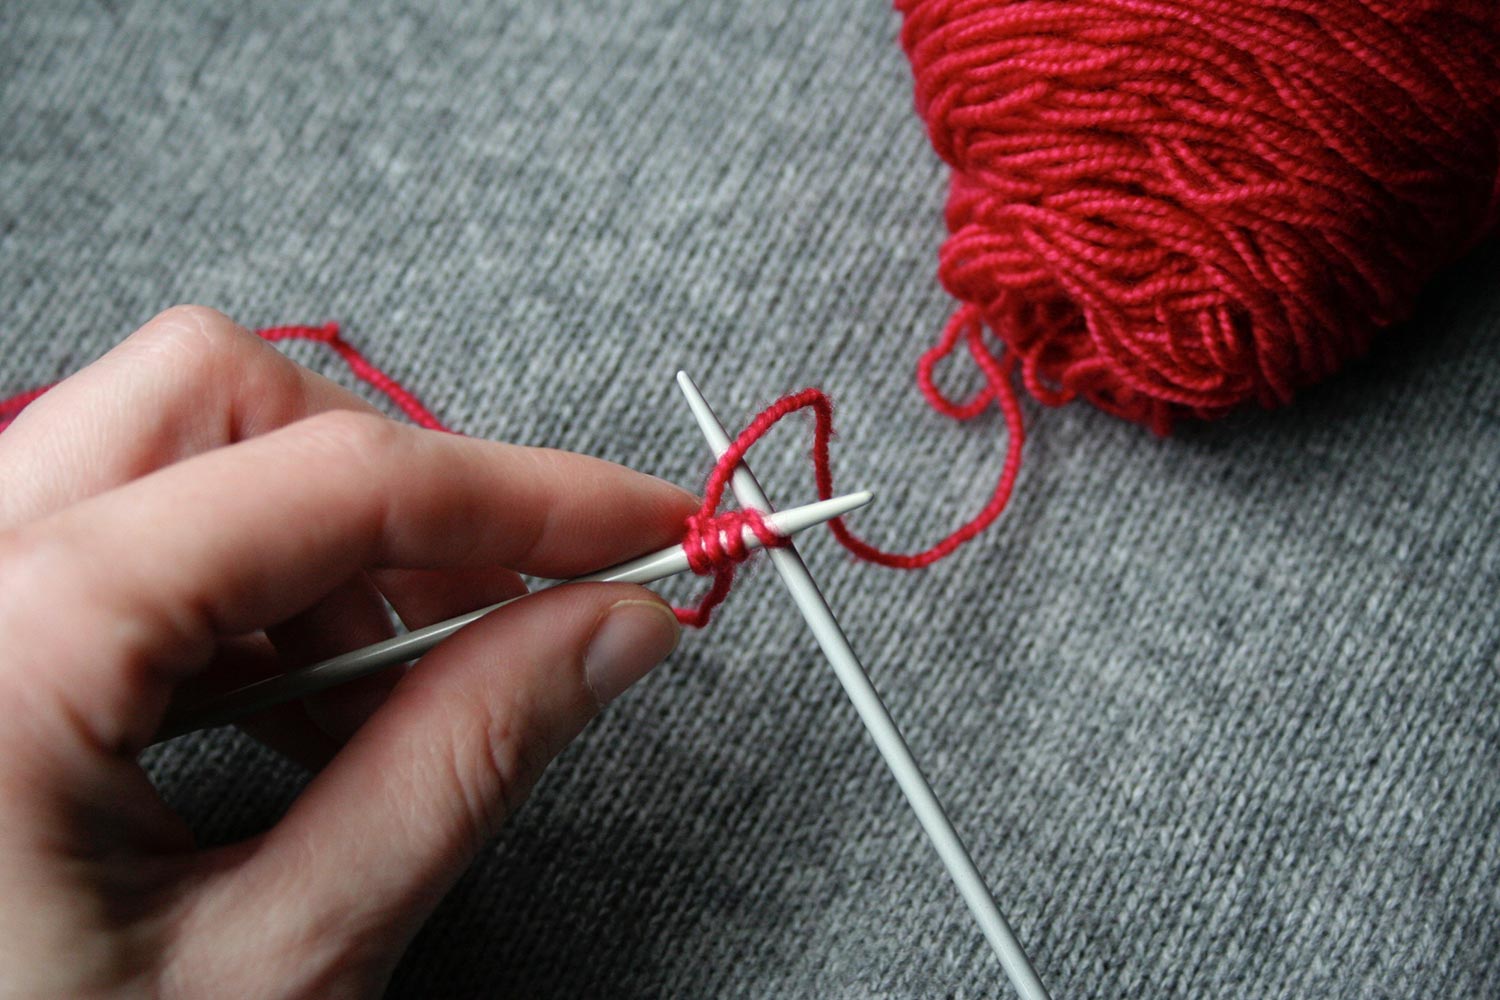
With the working yarn coming from the fourth stitch on the needle and stretching behind the work, insert another double-pointed needle into the first stitch and knit.
Step 4:
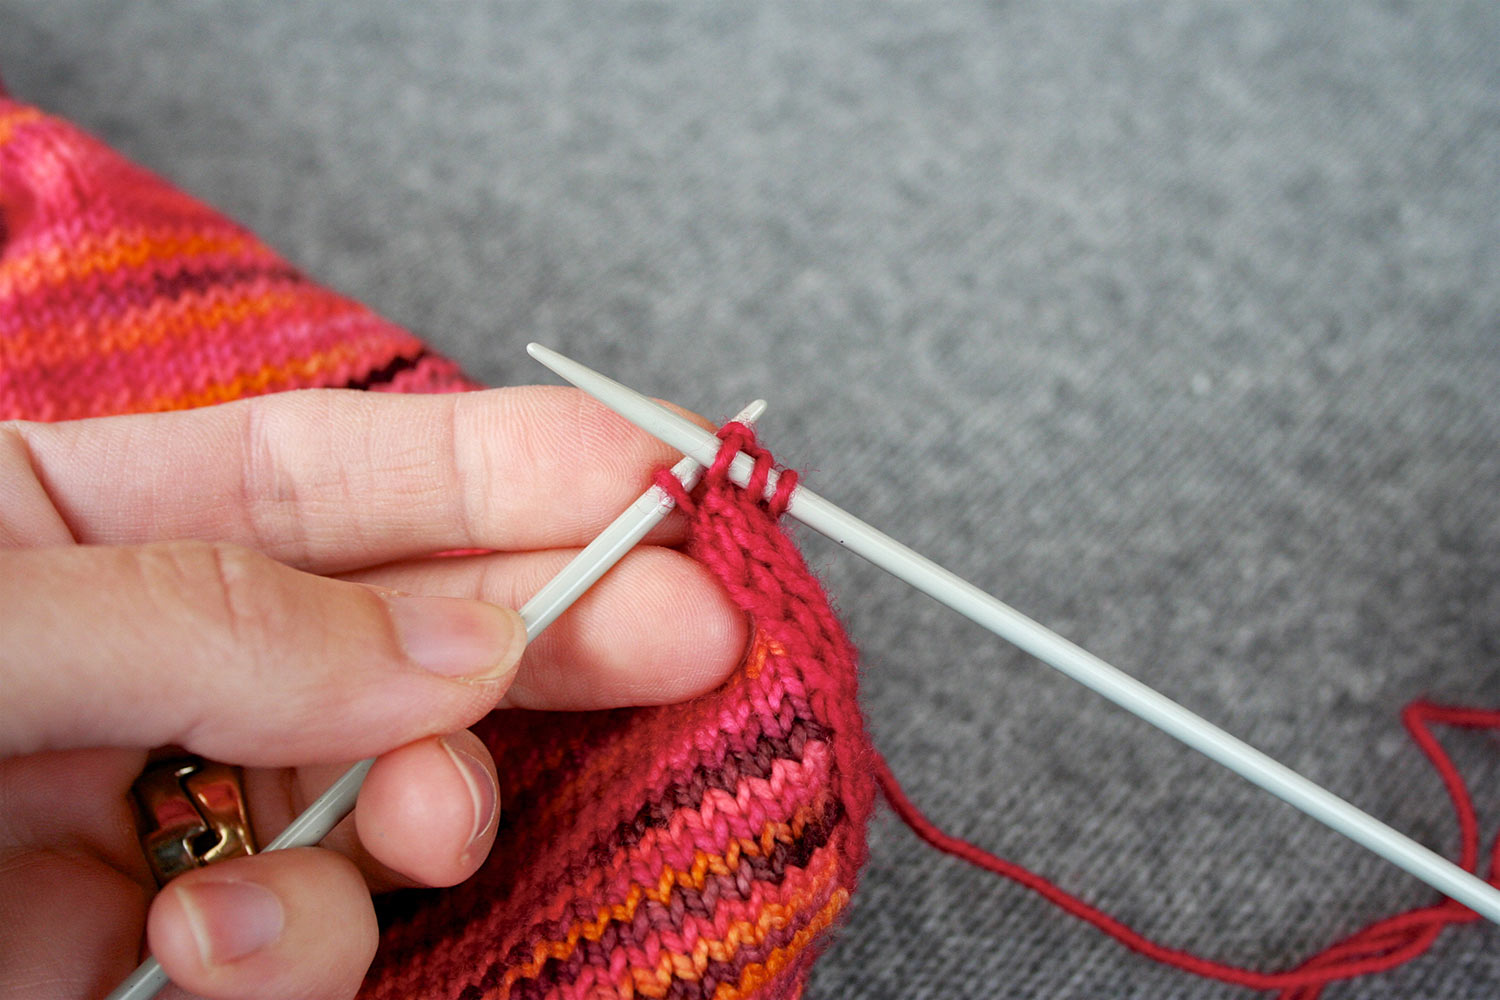
(The next few photos show the i-cord already attached to the selvedge, but the principle is the same.) Knit to the last stitch.
Step 5:
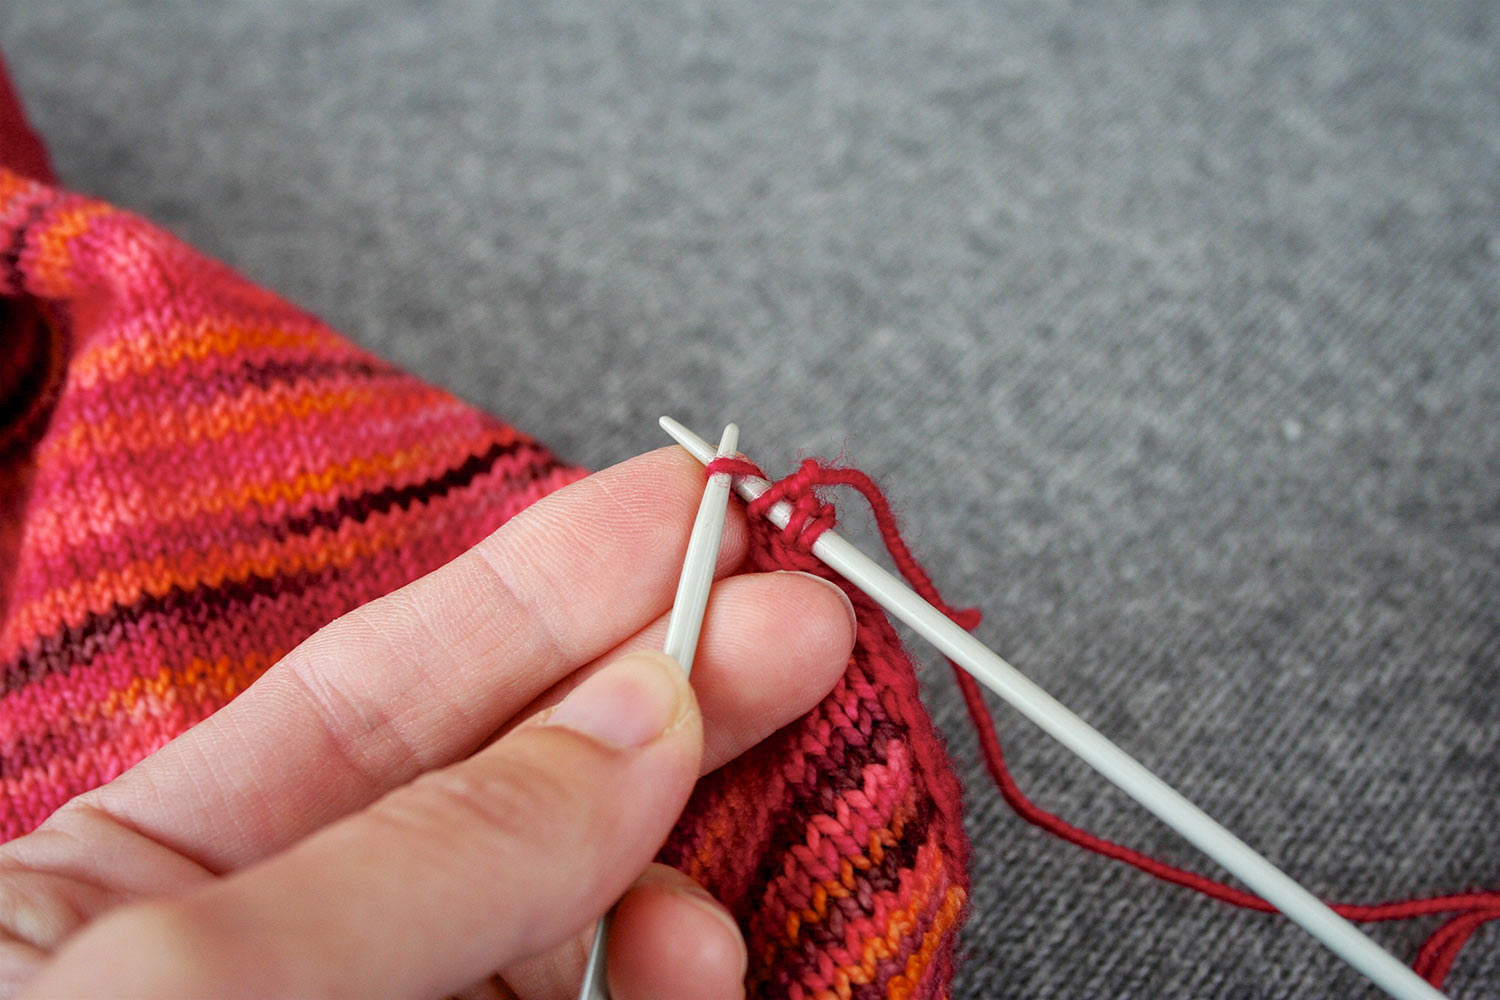
Slip the fourth stitch as if to knit.
Step 6:
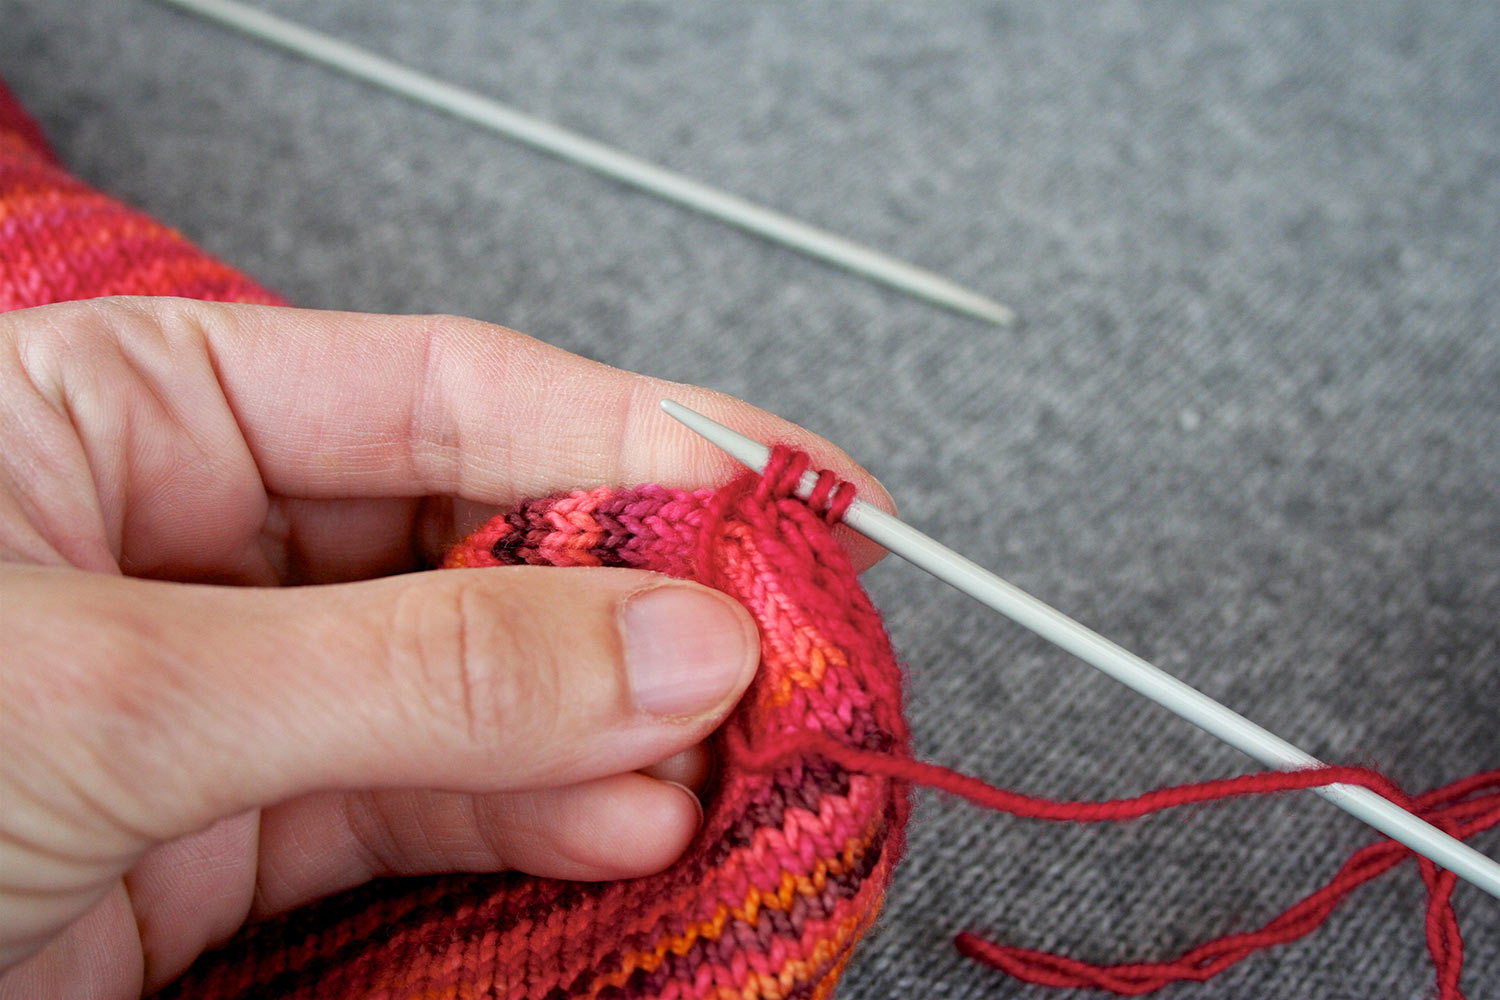
Yarn over by bringing the working yarn to the front of the work.
Step 7:
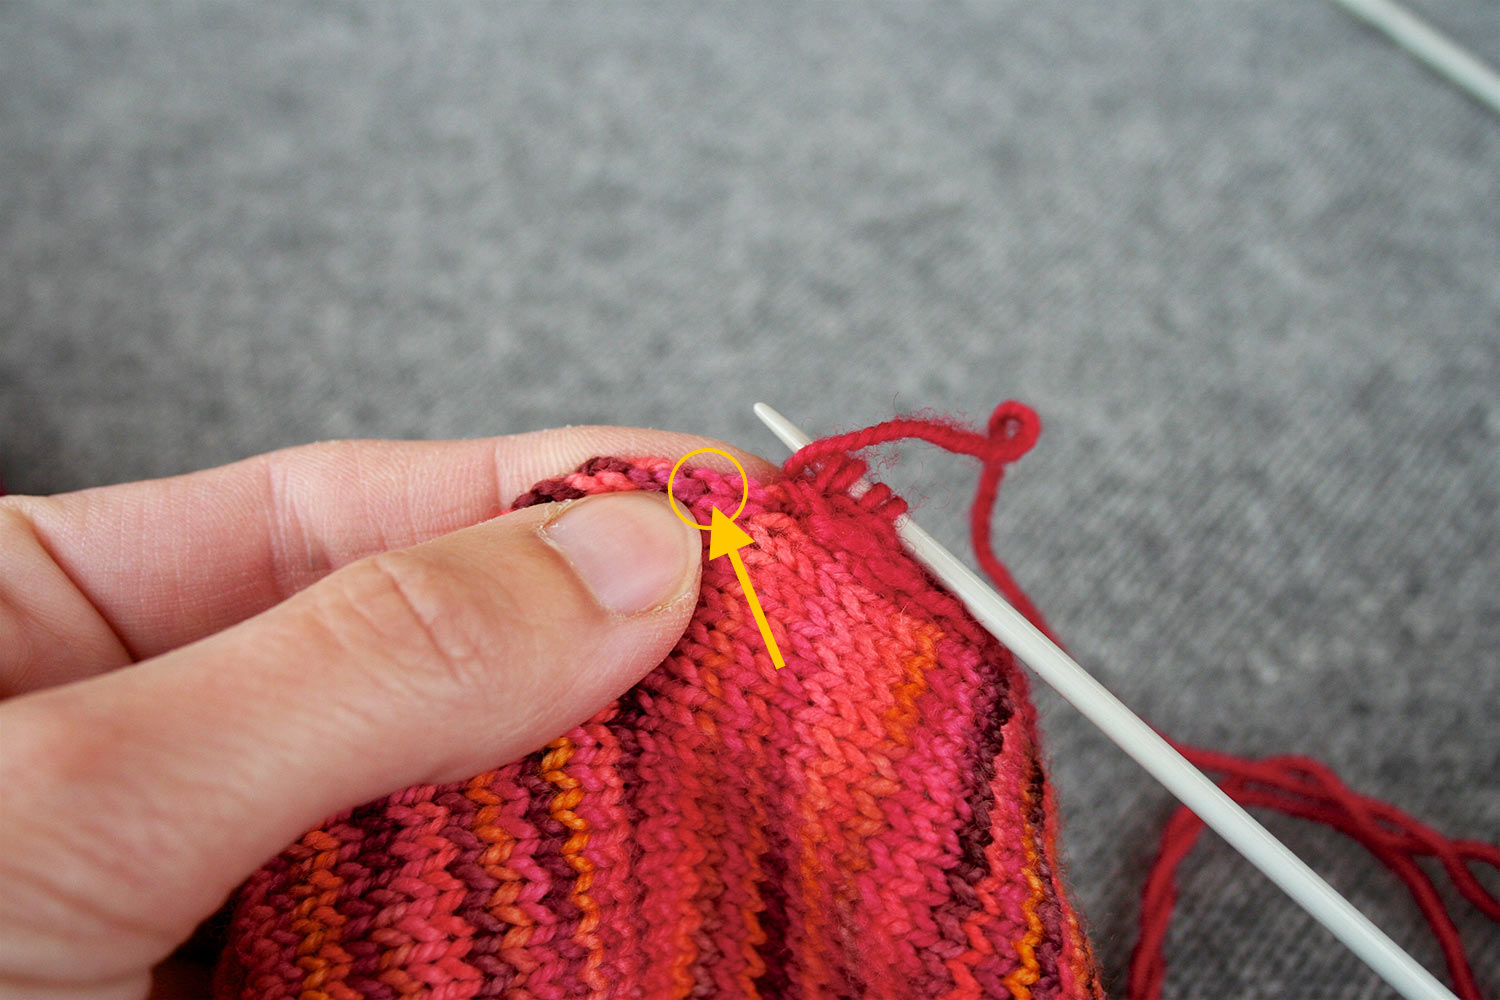
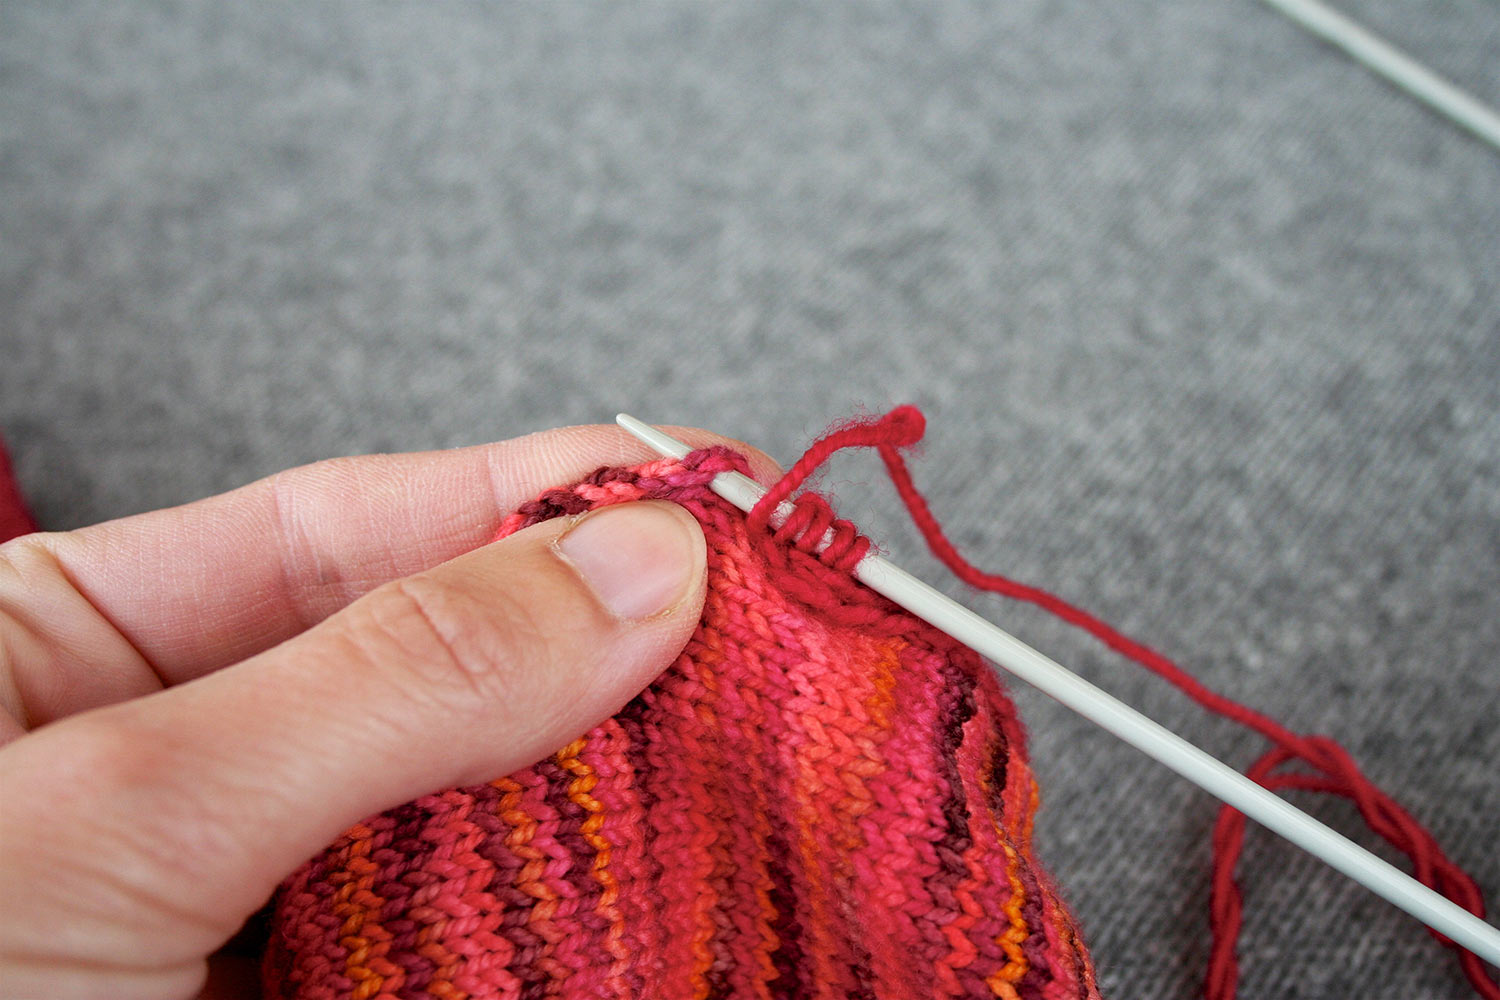
To attach the i-cord to the selvedge insert the knitting needle into the space between the selvedge stitch and the next stitch in that same row …
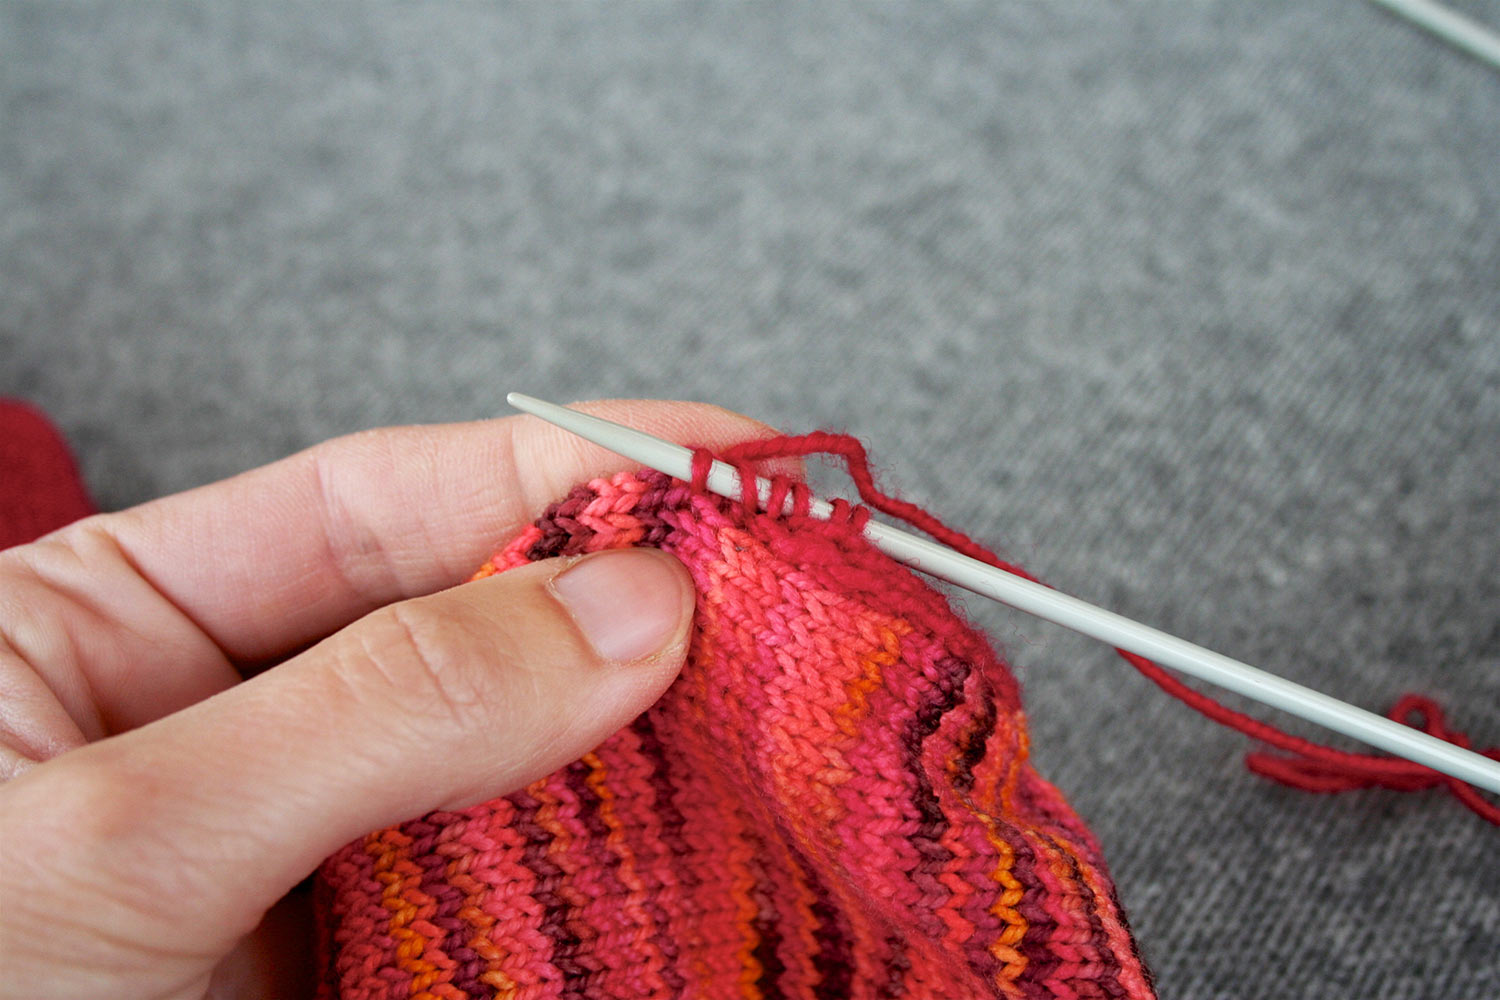
… yarn around the needle and pull a loop through the selvedge as if to knit.
This is usually called “pick up and knit” in most knitting patterns. For the Ruby hoody, you’ll be picking up a stitch every other row on the hoodie selvedge.
Step 8:
You now have 6 stitches on your needle—it’s time to get rid of 2 stitches.
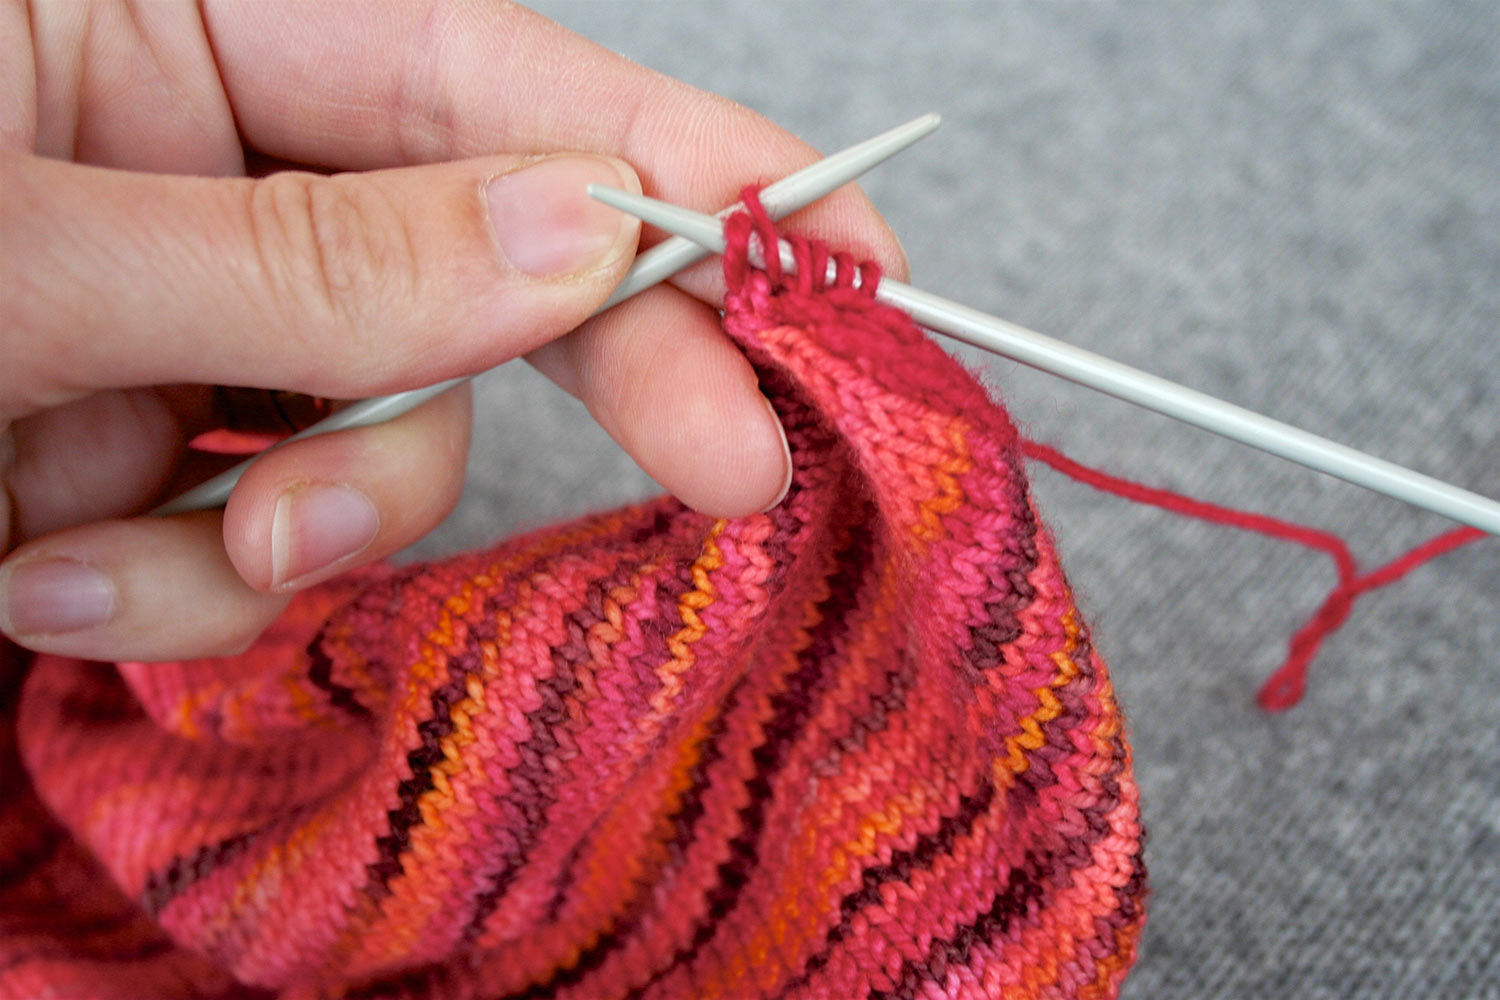
Pass the ‘yarn over’ stitch over the ‘pick up & knit’ stitch.
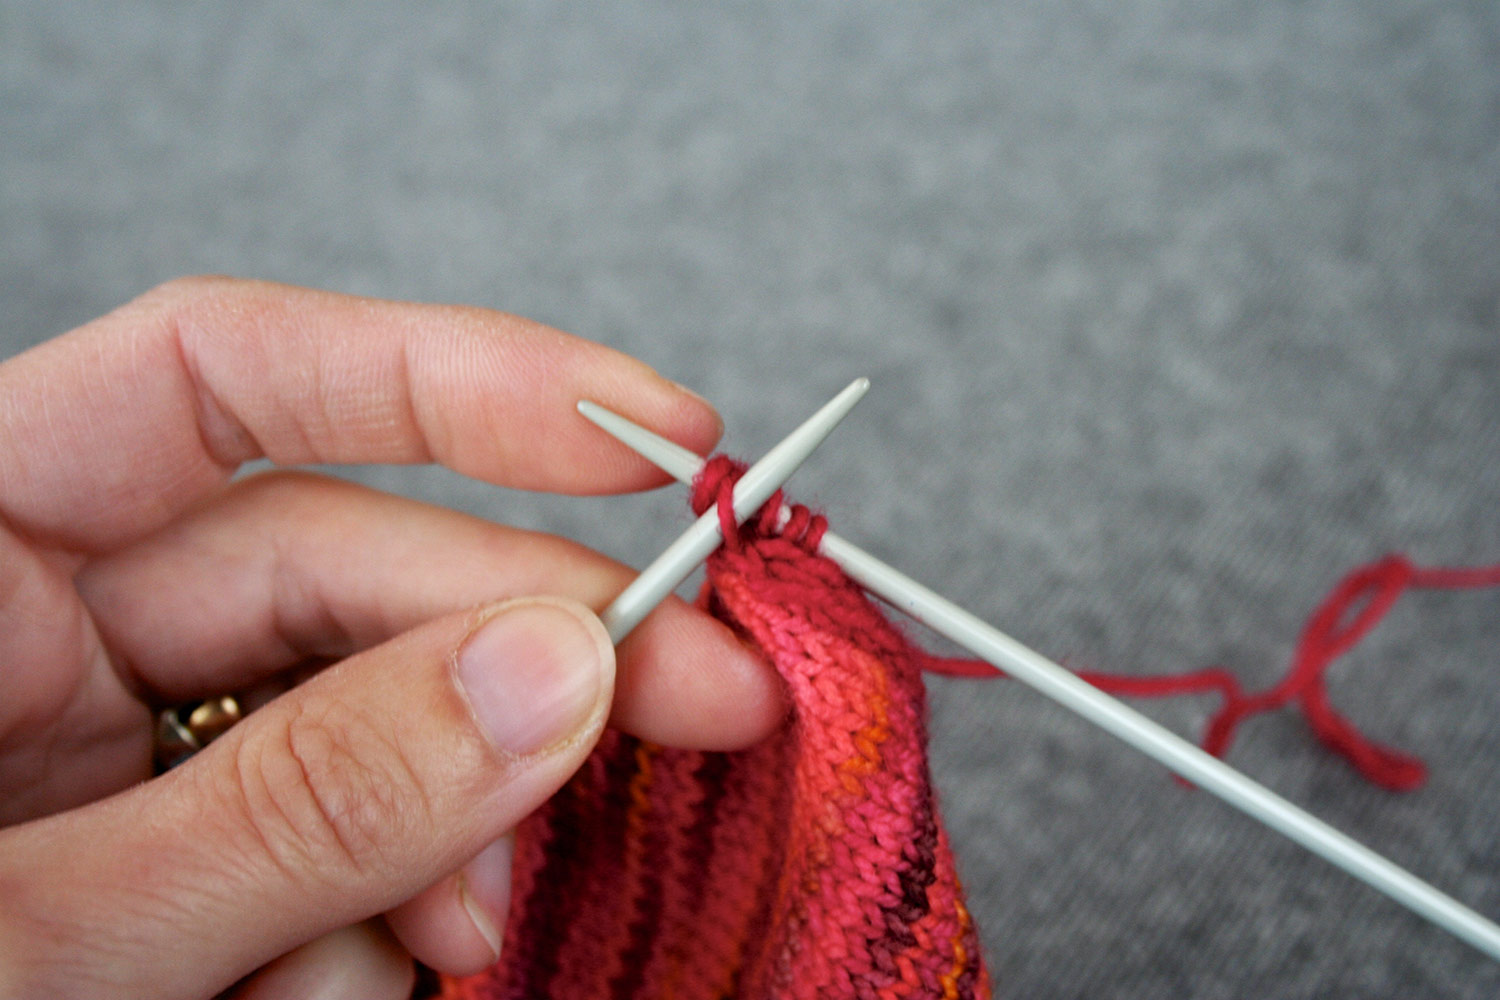
Then pass the slip stitch over the ‘pick up & knit stitch.’
Step 9:
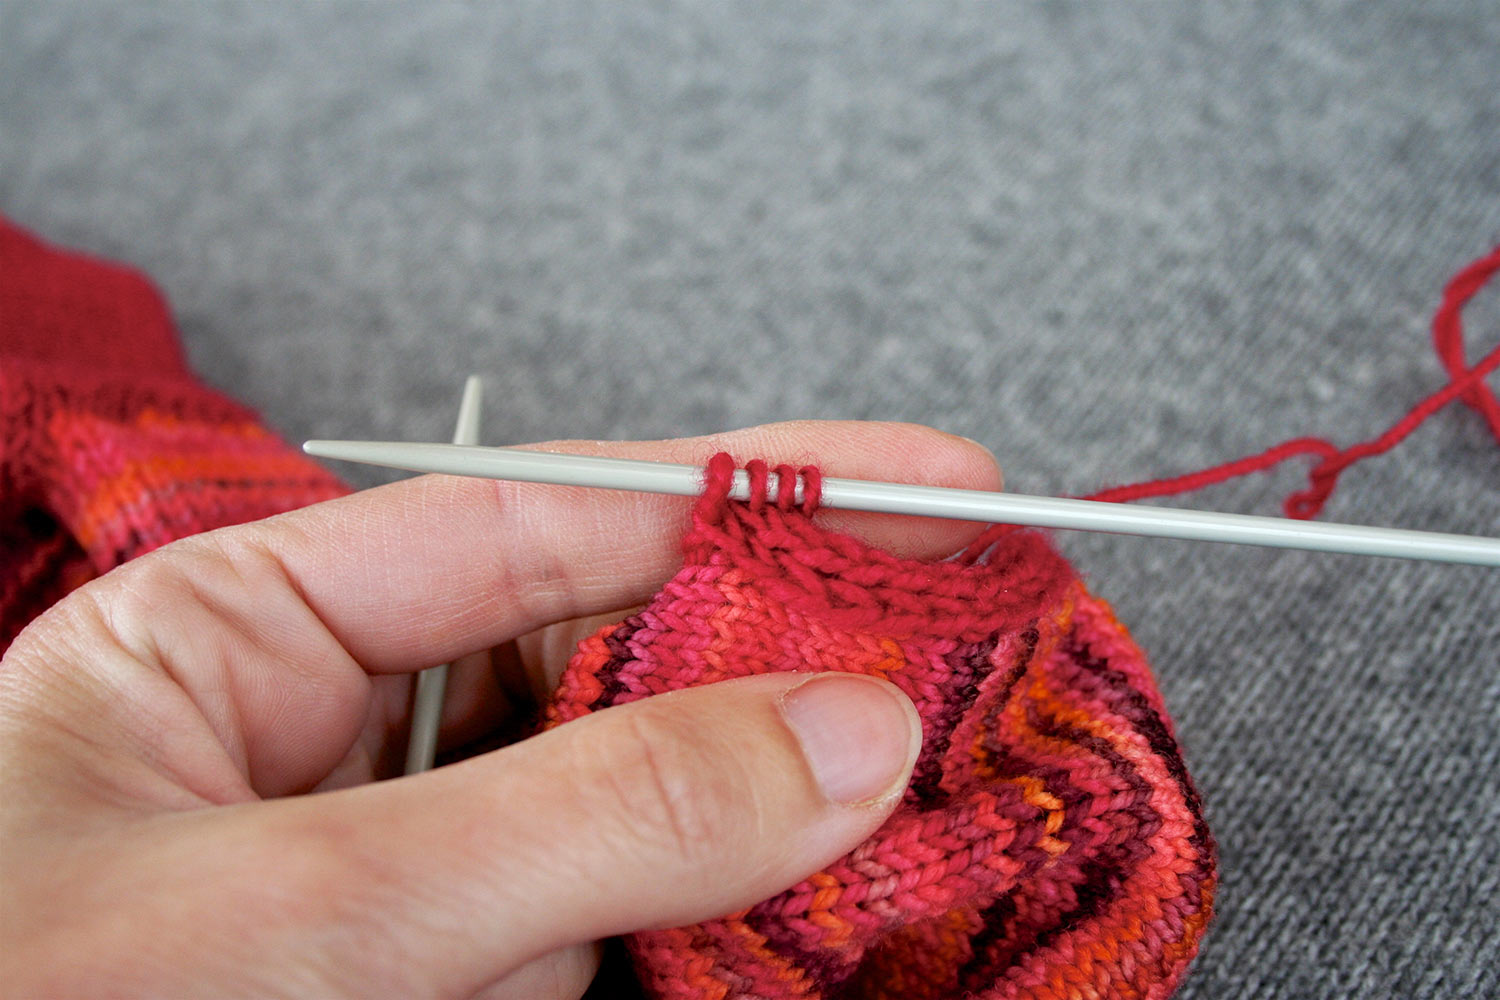
You now have four stitches on the needle and you’re ready to start over. Repeat Steps 2 through 8 until your applied i-cord is the length you need.


