The Long Tail Cast On uses two lengths of yarn—a long tail and the yarn coming from the ball.
The Setup
As an aid in the following tutorial, I’ve knotted together two different colours of yarn to help make things a little easier to see. The tail is orange and the yarn from the ball is pink.
Hold needle in right hand and hang yarn over the needle with the long tail strand in front of needle and the working yarn (attached to the ball) in back of needle. Hold in place on needle with forefinger. A slip knot may be used to hold yarn on needle, but I prefer to minimize the use of knots in my knitting.
Pinch thumb and forefinger on left hand together and insert them between the dangling strands.
Grasp both strands with the remaining three fingers of left hand, holding them in your fist.
Spread thumb and forefinger to “part the curtains.”
Tilt wrist so left palm faces up. The yarn should be in a V-shape with the needle at the point of the V, the tail looped around the left thumb, and the yarn leading to the ball looped around the left forefinger.
The Cast On
Step 1:
Insert needle into thumb loop from bottom to top.
Step 2:
Move needle behind near strand on finger from right to left, wrapping that strand around needle.
Step 3:
Pass needle back through thumb loop from top to bottom and scoop towards yourself.
Step 4:
Maintaining hold with left fingers, drop loop off thumb and reposition yarn around thumb by moving thumb behind strand from left to right.
Returning thumb to start position (spreading thumb and finger apart) tightens loop at bottom of needle.
Repeat Cast On Steps 1 to 4 until the required number of stitches have been cast on, counting the slip knot as the first stitch. Now you’re ready to work a wrong side row.
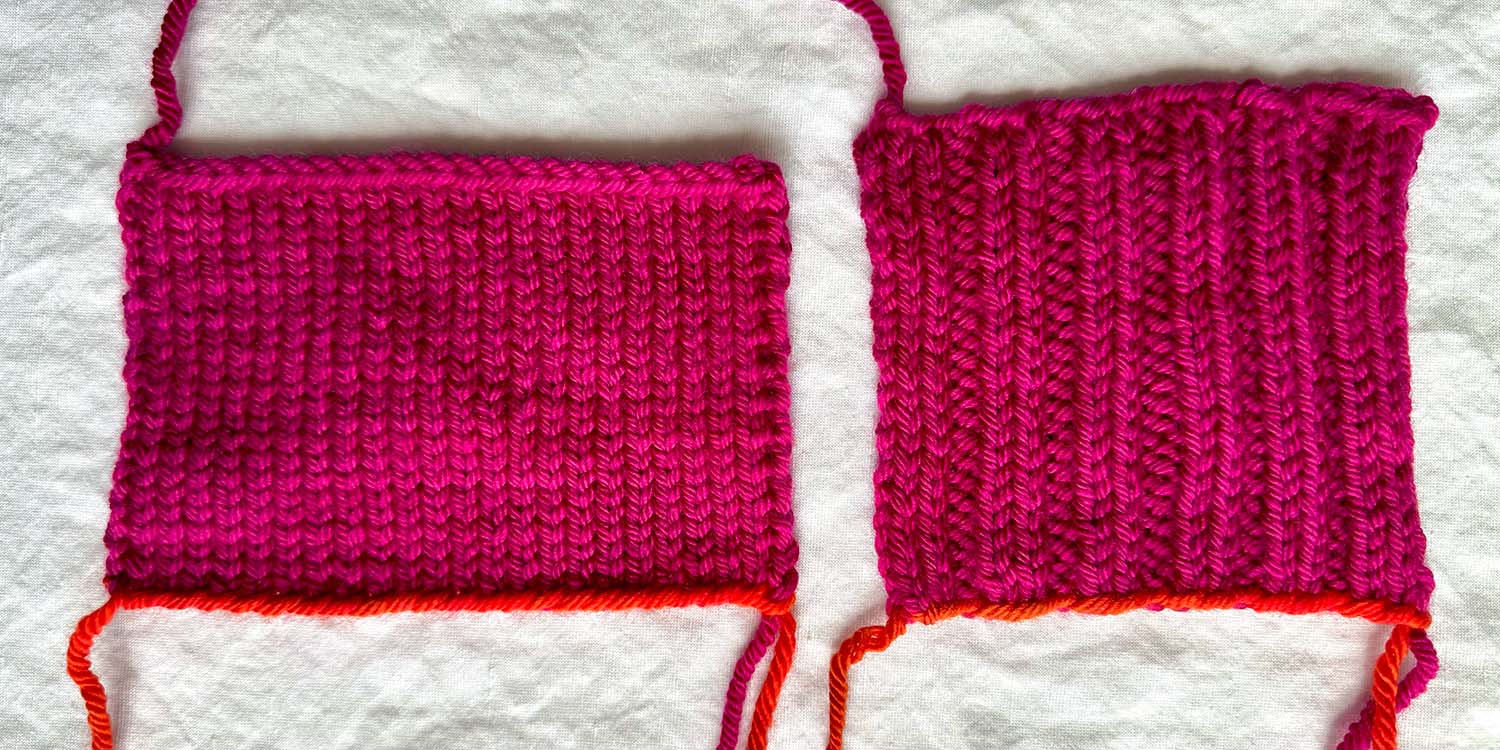
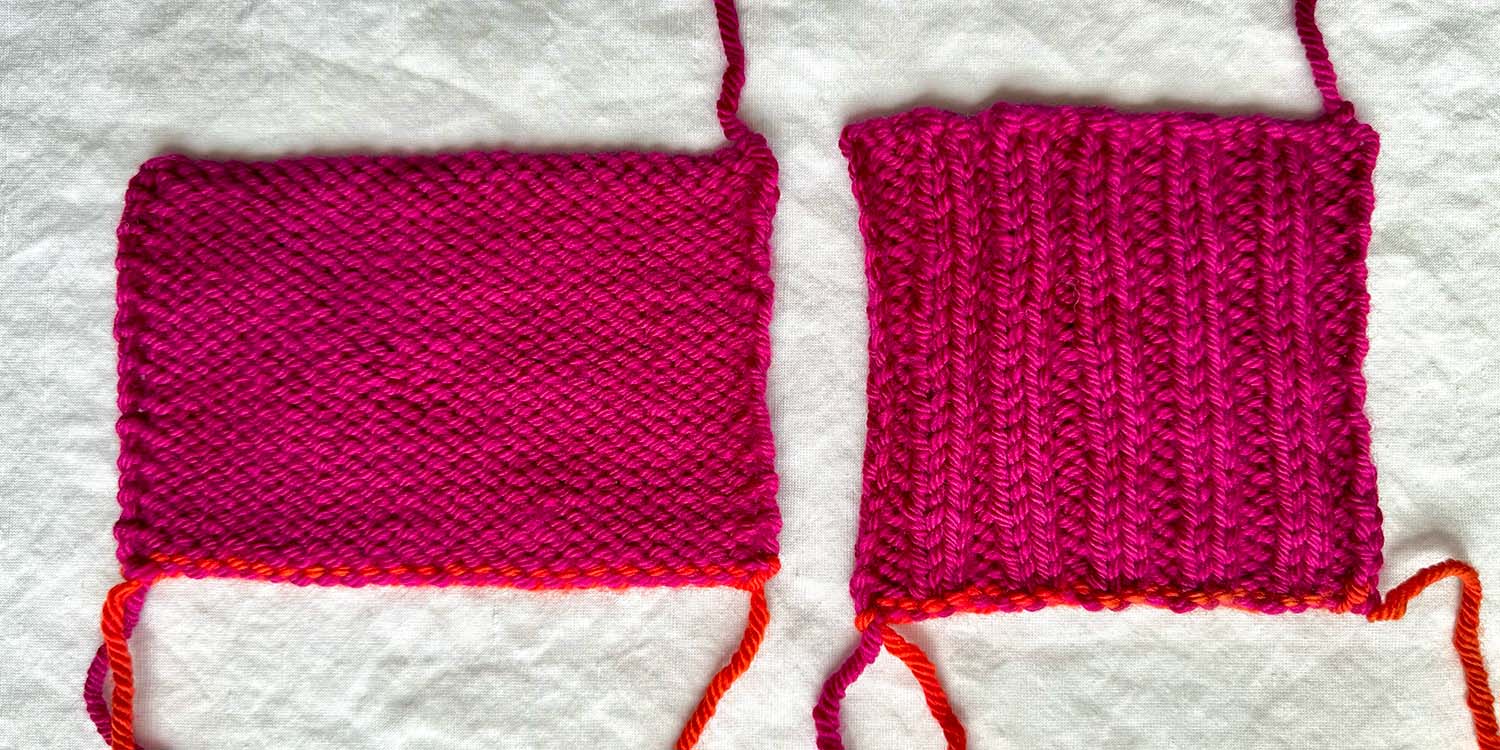
Long Tail Cast On viewed from right side.Long Tail Cast On viewed from wrong side.Right side of Stocking Stitch and 2×2 Rib swatches featuring Long Tail Cast On.Wrong side of Stocking Stitch and 2×2 Rib swatches featuring Long Tail Cast On.
More Tutorials Related to the Long Tail Cast On
Is your cast on edge tighter than your normal gauge? Check out this tutorial.