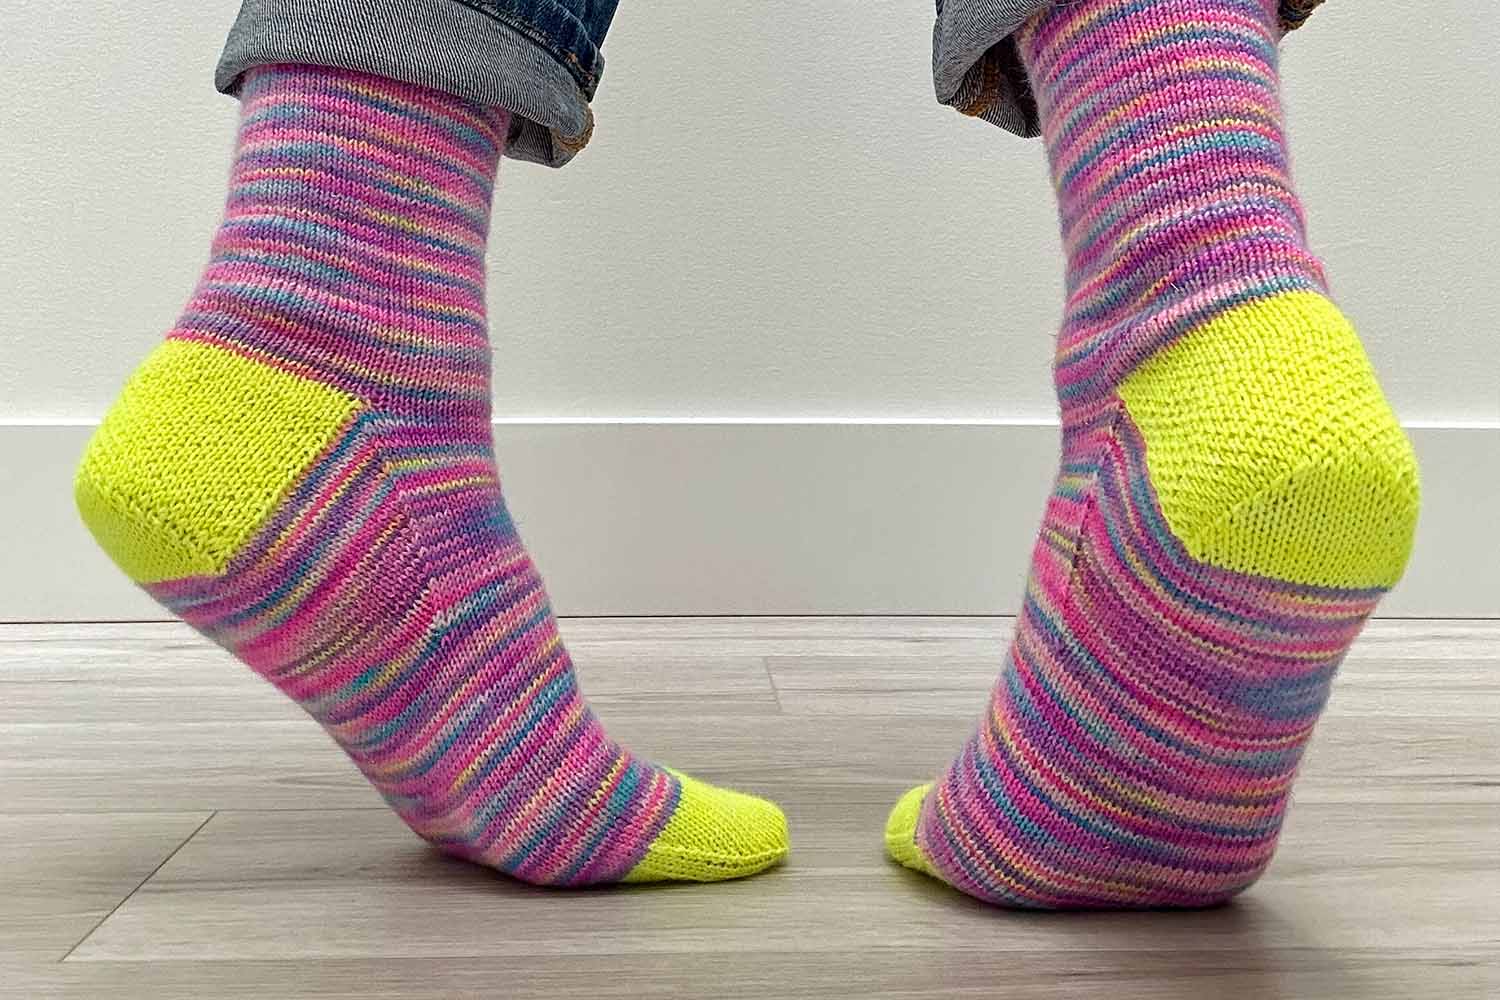
How to Get the Perfect Fit: Measuring Foot Length for Top-Down Socks
Ever wondered exactly where to measure your sock from before starting your toe? Or discovered that the pattern’s suggested foot length just doesn’t fit?
For top-down socks with a heel flap and heel turn, I use this simple three-step method for socks that fit every time.
Step 1: Mark Your Starting Point

Before you work the heel turn, place a locking stitch marker though the base of a few sts on the needle mid-row. This is your heel marker, and it gives you a consistent starting point for measuring the foot.
When your pattern says something like “work until foot measures XXX inches/cm from the back of the heel,” this marker is where you measure from.
Step 2: Calculate Your Desired Foot Length
Rather than relying on the average foot length suggested by your pattern, start with the actual foot measurement of the person who’ll wear the socks. (Because let’s face it, none of us are average, right?)

First, measure the foot. Have the sock wearer stand with their heel against a wall. Measure from the wall to the tip of their longest toe.
Next, subtract a little length to allow for negative ease. Socks should fit snugly rather than have extra fabric bunching at the toe.
As a general guide, I subtract:
- Children’s feet (under 7 in / 17.5 cm): about ¼ in / 0.5 cm
- Adult feet (over 7 in / 17.5 cm): about ½ in / 1 cm
Now calculate your desired foot length:
| Measurement | Your calculation |
|---|---|
| Actual foot length (A) | _______ |
| Negative ease (B) | _______ |
| Desired foot length (C) | A − B = _______ |
Keep your measurements in either inches or centimetres throughout the calculation.
Here’s where the magic happens
Most sock patterns give you a measurement for the foot before you begin the toe shaping. For example, the instructions might say:
“Work until the foot measures XXX inches/cm from the back of the heel, or until the foot is YYY inches/cm shorter than the desired foot length.”
That second instruction is the golden key to getting a great fit, and it’s easy to overlook if you’re accustomed to following the pattern’s stated measurements.
The first measurement, XXX, gives you a standard foot length for the size you’re knitting. But the second instruction lets you customize the sock to the actual foot you’re knitting for.
Here’s how to use it.
Take your desired foot length (C), calculated above, and subtract the YYY measurement given in your pattern (D).
| Measurement | Your calculation |
|---|---|
| Desired foot length (C) | _______ |
| Pattern’s measurement for the distance remaining before toe shaping (D) | _______ |
| Custom measurement before toe shaping (E) | C − D = _____ |
The result (E) is the length you want to work from your heel marker to the beginning of the toe shaping.
This is the measurement that makes the difference between following a pattern designed for an average foot and knitting a sock tailored to the person wearing it.
Step 3: Count Rounds Instead of Measuring
Here’s where the accuracy comes in. Rather than repeatedly measuring the knitted sock, I count my rounds instead. I calculate how many rounds I need to work based on my actual round gauge. No measuring tape draped over my leg or balancing the sock on the arm of the couch!

First, measure your round gauge over 4 in / 10 cm of knitting. Divide the number of rounds by 4 for rounds per inch, or by 10 for rounds per centimetre.
Next, multiply your custom foot length by your round gauge.
For example, if your custom foot length is 7.5 inches and your actual round gauge is 14 rounds per inch:
7.5 × 14 = 105 rounds
That’s how many rounds I need to work from my heel marker to the beginning of the toe shaping.

My trick for keeping count? I pass a short length of scrap yarn between my needles every 10 rounds. It’s a simple running tally that makes it easy to keep track of my progress without reaching for a measuring tape or losing count along the way.
Want More Control Over Your Sock Fit?
Getting a great fit is about more than following a set of instructions. The Only Sock Pattern You’ll Ever Need gives you the tools to customize your socks to the feet you’re knitting for, for any yarn weight, any gauge, and any size, plus customization advice beyond foot length and plenty of ProKnitTips along the way.
Whether you’re knitting your first pair or your fiftieth, you’ll have the flexibility to make socks that fit just right.
DISCOVER THE ONLY SOCK PATTERN YOU’LL EVER NEED →